How to make timelines with your usual office tools
Learn how to create an easy-to-follow timeline using the office software you’re most familiar with.

Using timelines to communicate key events
Timelines are a great way to visualize a series of events that happen over time, making it easy to understand and remember essential data. Professionals who need to create eye-catching timelines for important presentations can use their favorite office software, since almost all of the traditional productivity tools have functions that can produce such visuals one way or another. Alternatively, you can also use dedicated timeline makers that save time and effort by automating the process.
Since the steps to making a timeline can get quite complex, this page presents a series of detailed tutorials and resources to help you get started faster.
This step-by-step PowerPoint timeline tutorial will show you how to make professional timelines right inside the popular presentation tool.
See a detailed tutorial on how to make a timeline in Excel and learn about automating the process using a timeline generator.
This step-by-step tutorial demonstrates how to generate a timeline in Word and provides customization tips to make it easier to follow.
See a detailed tutorial that explains how to build the timeline and prepare it for high-level presentations.
These step-by-step Google Docs and Google Sheets timeline tutorials explain how to create professional timelines.
See a detailed Numbers timeline tutorial that explains all the steps in building and customizing the graphic.
Create a timeline in Keynote by formatting one of the pre-designed charts available with this step-by-step guide.
This tutorial explains how to build a timeline in Pages and format it until it looks just right.
The #1 timeline creator trusted by project management professionals.
I love this software. This product saves a Project Manager so much time. There are circumstances where you don't need a full-blown project plan, or even a WBS, you just want a simple yet elegant Timeline to show your clients. This is the solution.
 Brad TeetersManager of Operations, PMO, Core BTS
I absolutely love the Office Timeline PowerPoint add-in! It is so very easy to use, very flexible and creates beautiful timelines quickly! It has been a valuable productivity tool for me and I highly recommend it.
 Barbara NikschMedical Device Clinical & Regulatory Consultant
Office Timeline is a great tool for creating visually appealing and easy to understand PowerPoint schedules. The ability to import existing data into Office Timeline (e.g. MS Project) and then edit is invaluable. I use this on a weekly basis and would not want to be without it!
 Christer Hiort, PMPDirector of Project Operations, Ericsson
Frequently asked questions about making timelines
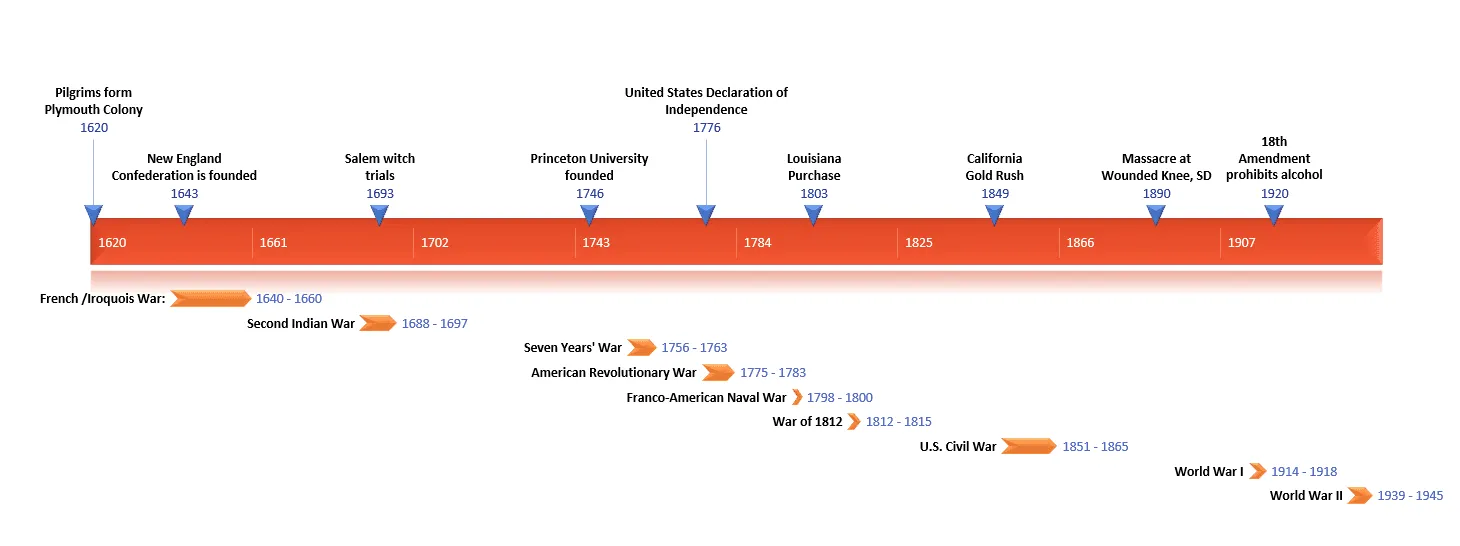
A timeline is a visual representation of events aligned in chronological order. A good example of a timeline is one that is easy to follow, organized, and provides enough information to be useful without being overwhelming. It should be clear what events are being represented and how they are connected. Additionally, a good timeline will be visually appealing and easy to navigate.
Examples of timelines can be any listing of key milestones in a historical figure’s life, project schedules, conference programs or wedding agendas.
For visual samples that would help you see how to design your own timeline, check out our extensive gallery of downloadable timeline examples.

In its simplest form, a timeline includes at least some key events (milestones) and their dates, as well as a timescale to help visualize their placement in time. When creating a timeline, consider the following:
- The events that you want to include;
- The order in which you want to place the events;
- The timeframe in which the events occurred;
- The level of detail that you want to include for each event.
Other details can be added too, such as activities (or tasks), start and end dates of your project, or any other info your audience might find useful. Whatever details you need to include, what’s important is to make sure you don’t overcrowd your timeline as this will make it harder to read.
This is how a simple timeline can look like:
For more ideas, browse our collection of timeline templates. You can download them for free and make customizations in order to create your own timeline.
A good timeline should be clear, concise, and easy to follow. It needs to be highly visual to ensure busy audiences can read it at first glance and understand the main points without requiring further explanations. One tip to creating an effective timeline would be to use colors, shapes, and fonts to make the visual stand out, to ensure a cohesive look, and, most importantly, to draw attention to important details. For instance, you can use color codes to show the importance or risk level of each milestone, or various shapes to group similar events into easy-to-spot categories.
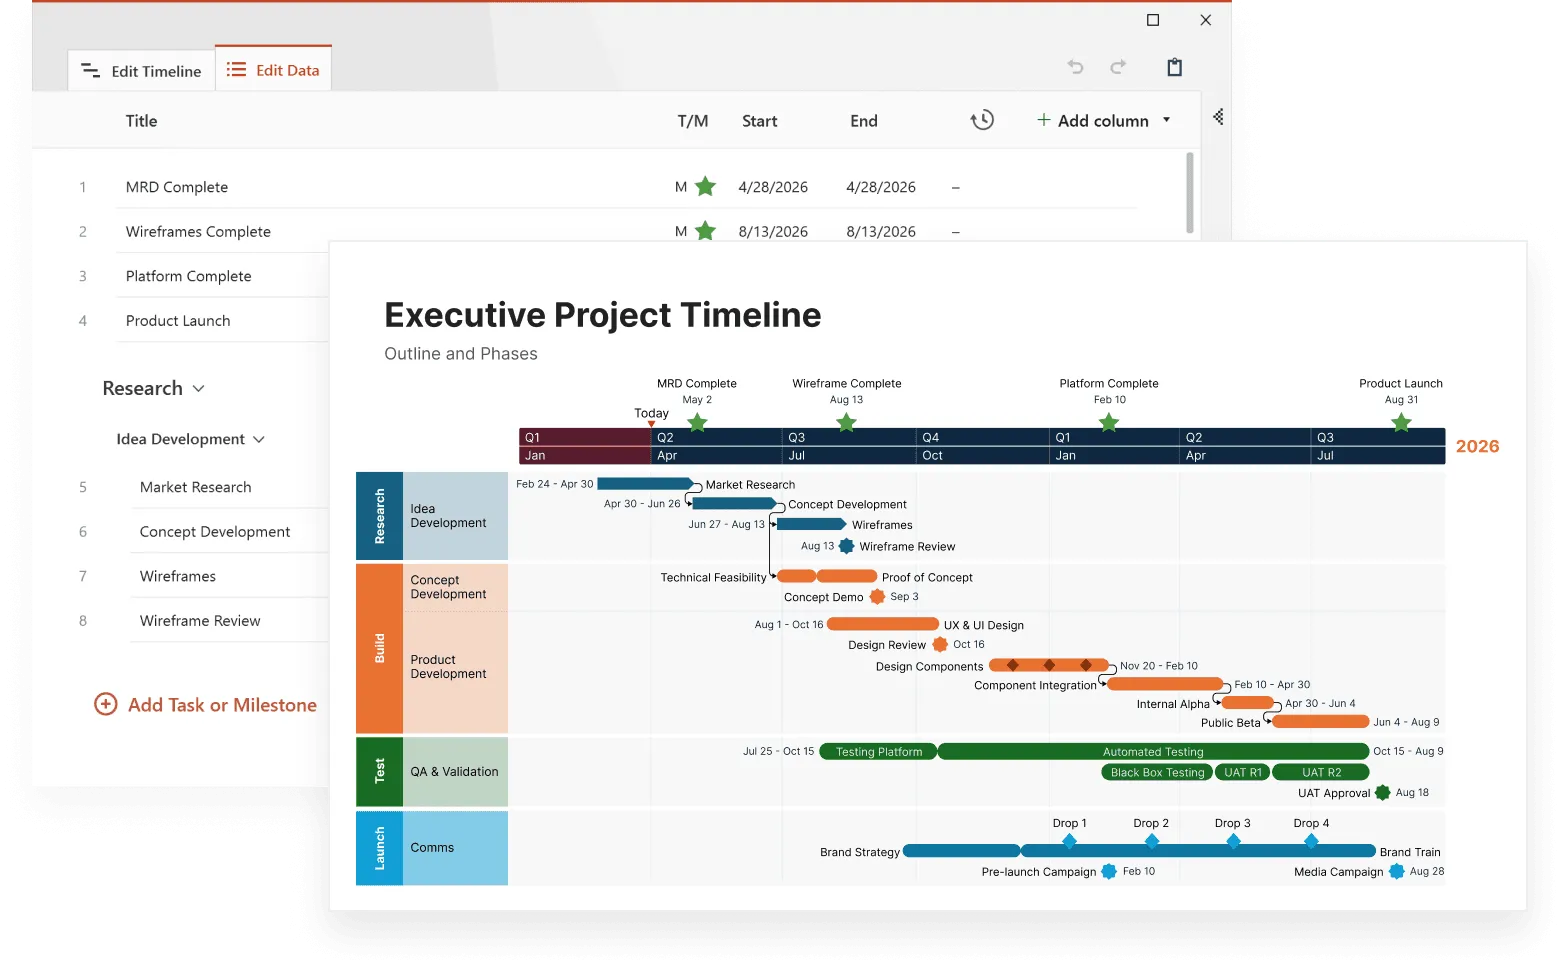
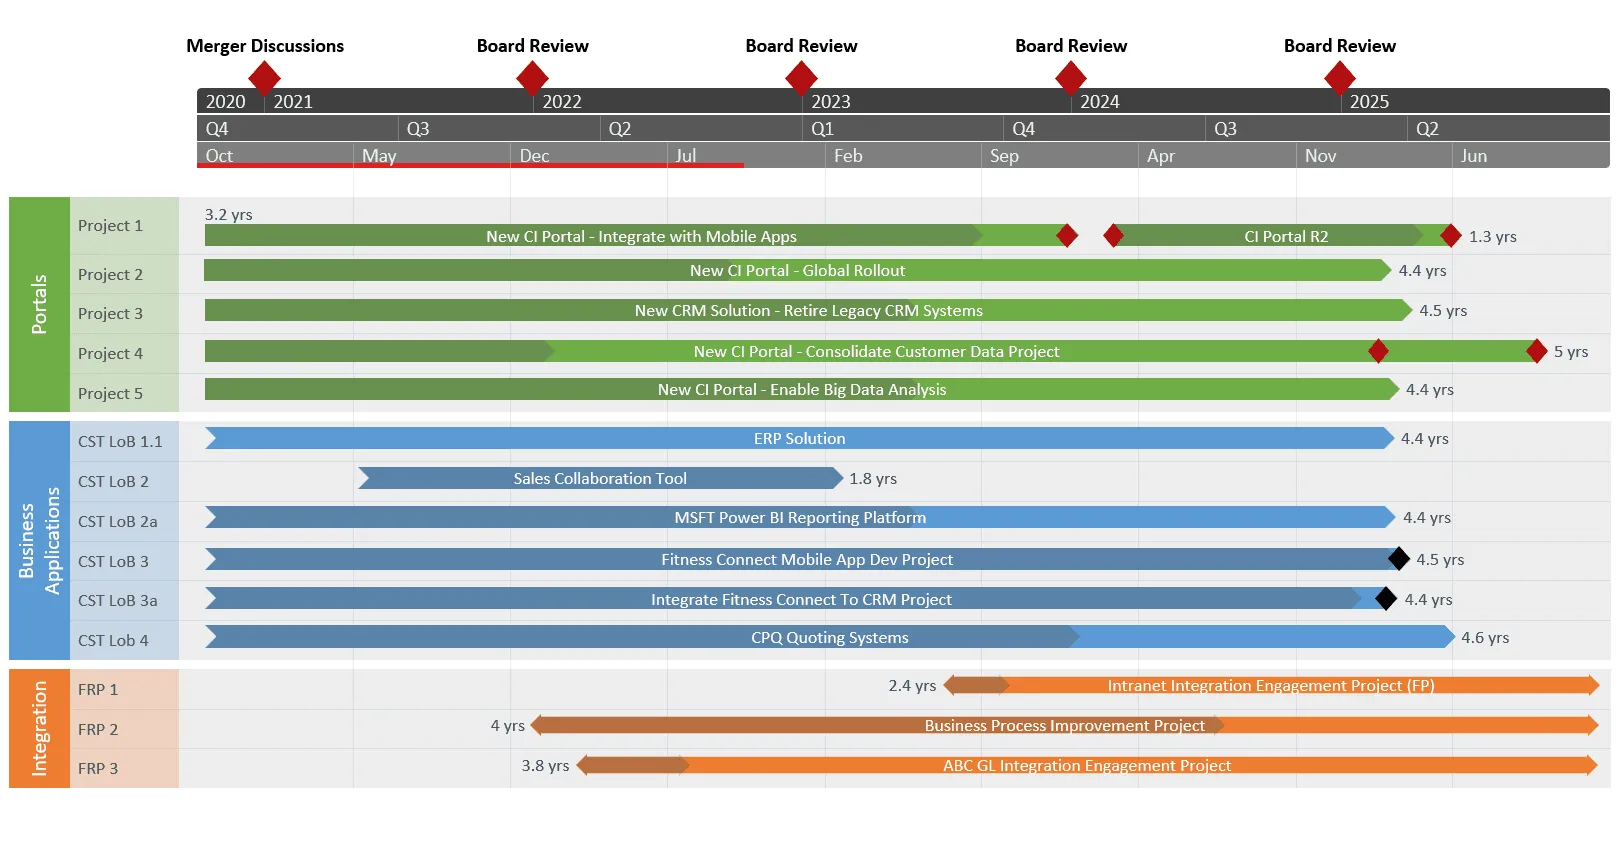
Another idea, especially useful when making project timelines, would be to add tracking details such as a Today marker and Elapsed Time on the timescale, or a % Complete indicator for activities. This will help your audience see the status of the project instantly, without needing too much explanatory text on the graphic. This is a good example:
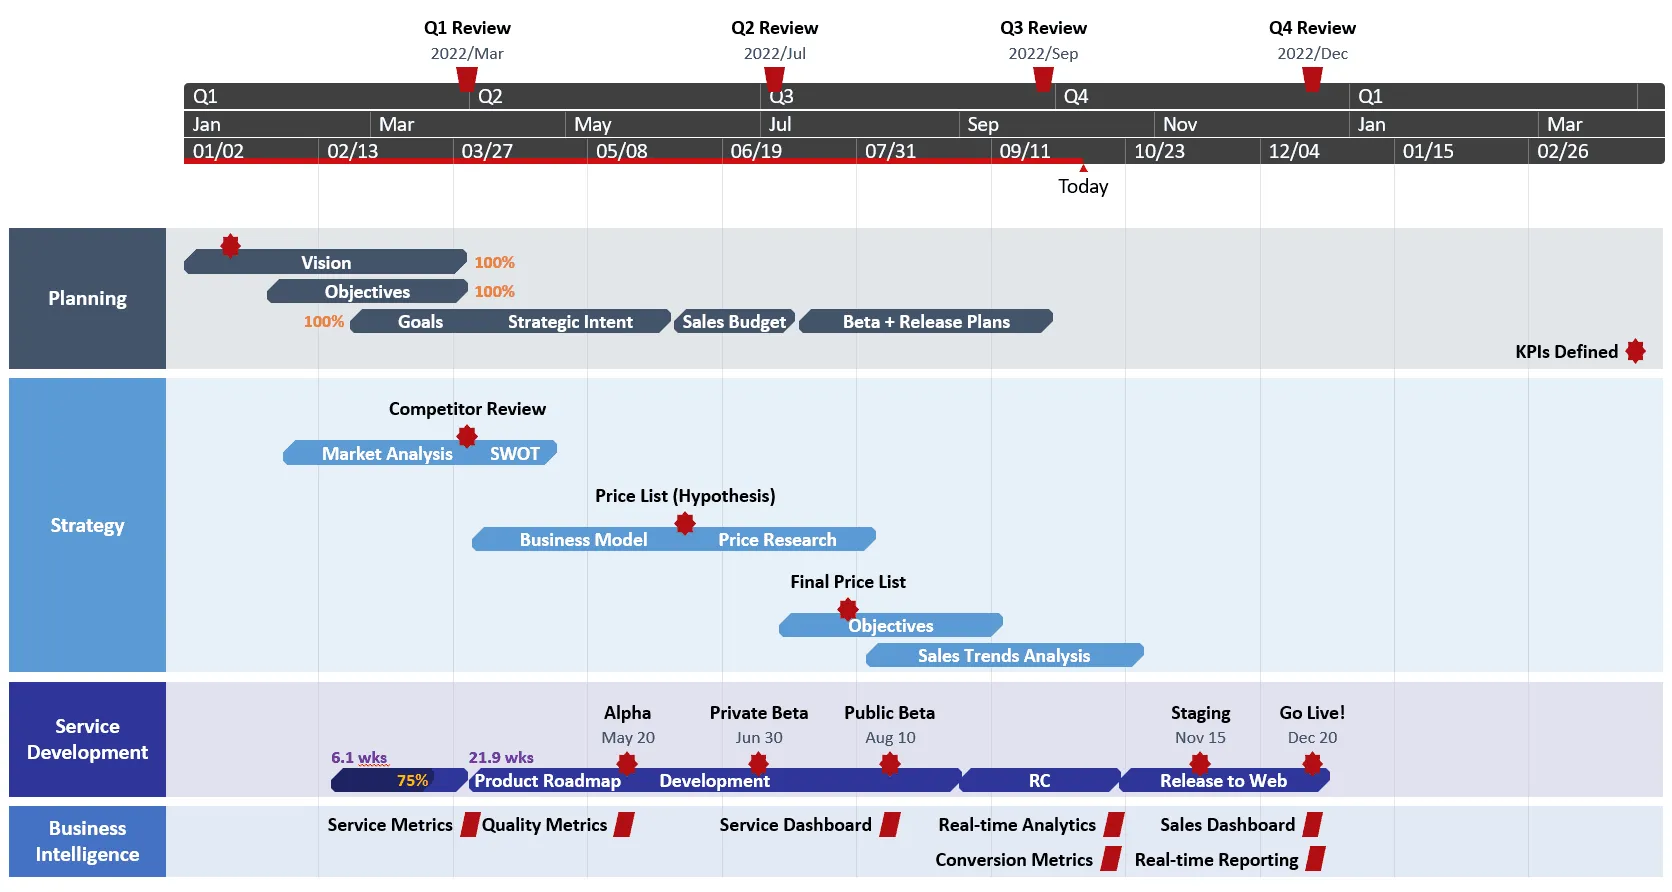
This project timeline was created with Office Timeline, an automated timeline maker. With this powerful PowerPoint add-in, you can automatically generate professional timelines. This tool offers you the possibility to calibrate your timelines to their finest, adding as much detail as you want, and taking advantage of the multiple timescales that you can use to manage time units. To try Office Timeline, download and install the free trial.
No, there aren’t any built-in timeline templates in Microsoft Word. However, you can make a timeline using the drawing tools in Word, following the steps described in our Word timeline tutorial.
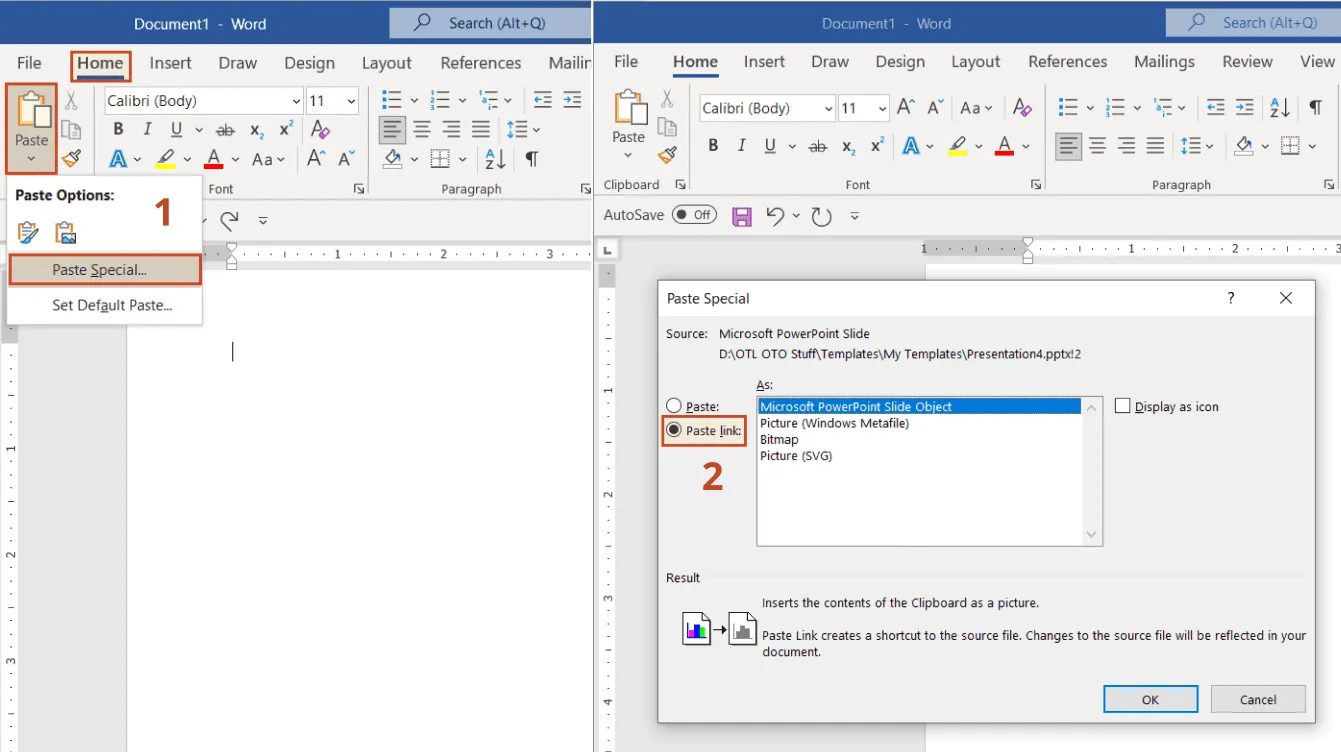
If you need to quickly build a visual for a presentation, you can use the free timeline templates for PowerPoint available in our gallery. They just need some data customization and they’re ready to use. This is how to easily include them in your Word document:
Simply copy-paste the slide into your Word document – the timeline will be included as an embedded object/image. The timeline cannot be edited or updated it in this format; you’ll just have to copy-paste it again.
OR
- To allow updating, insert the timeline as a linked Microsoft PowerPoint Slide object. To do this, copy the slide, and, on the Home tab, click the arrow under Paste, then select Paste Special. In the dialog that opens, select Paste link and Microsoft PowerPoint Slide object under As.
This way, if you update your timeline in PowerPoint, you’ll be able to update it with a click, directly in the Word document: right click on the timeline and select Update Link.
Whether a program is the best to make a timeline ultimately depends on your preferences and specific needs. What works for one project can be useless for another.
The best timeline makers have a few key elements in common:
- They are fast and easy to use. Dedicated timeline software should save you considerable time and effort compared to your usual office tools. Otherwise, they’re not worth the effort of getting them and learning all the ropes.
- They provide a variety of templates to help you find inspiration and create a beautiful timeline quickly.
- They integrate with other productivity tools. A good timeline generator can draw data from other programs you use and automatically generate your visual based on that data.
We might say that the all-time most popular program to make timelines is Microsoft PowerPoint. With a powerful add-in like Office Timeline you can really get the fastest, best results: automatically generated, beautiful timelines, ready in minutes. Try it for free and see how it meets all the requirements we just mentioned.
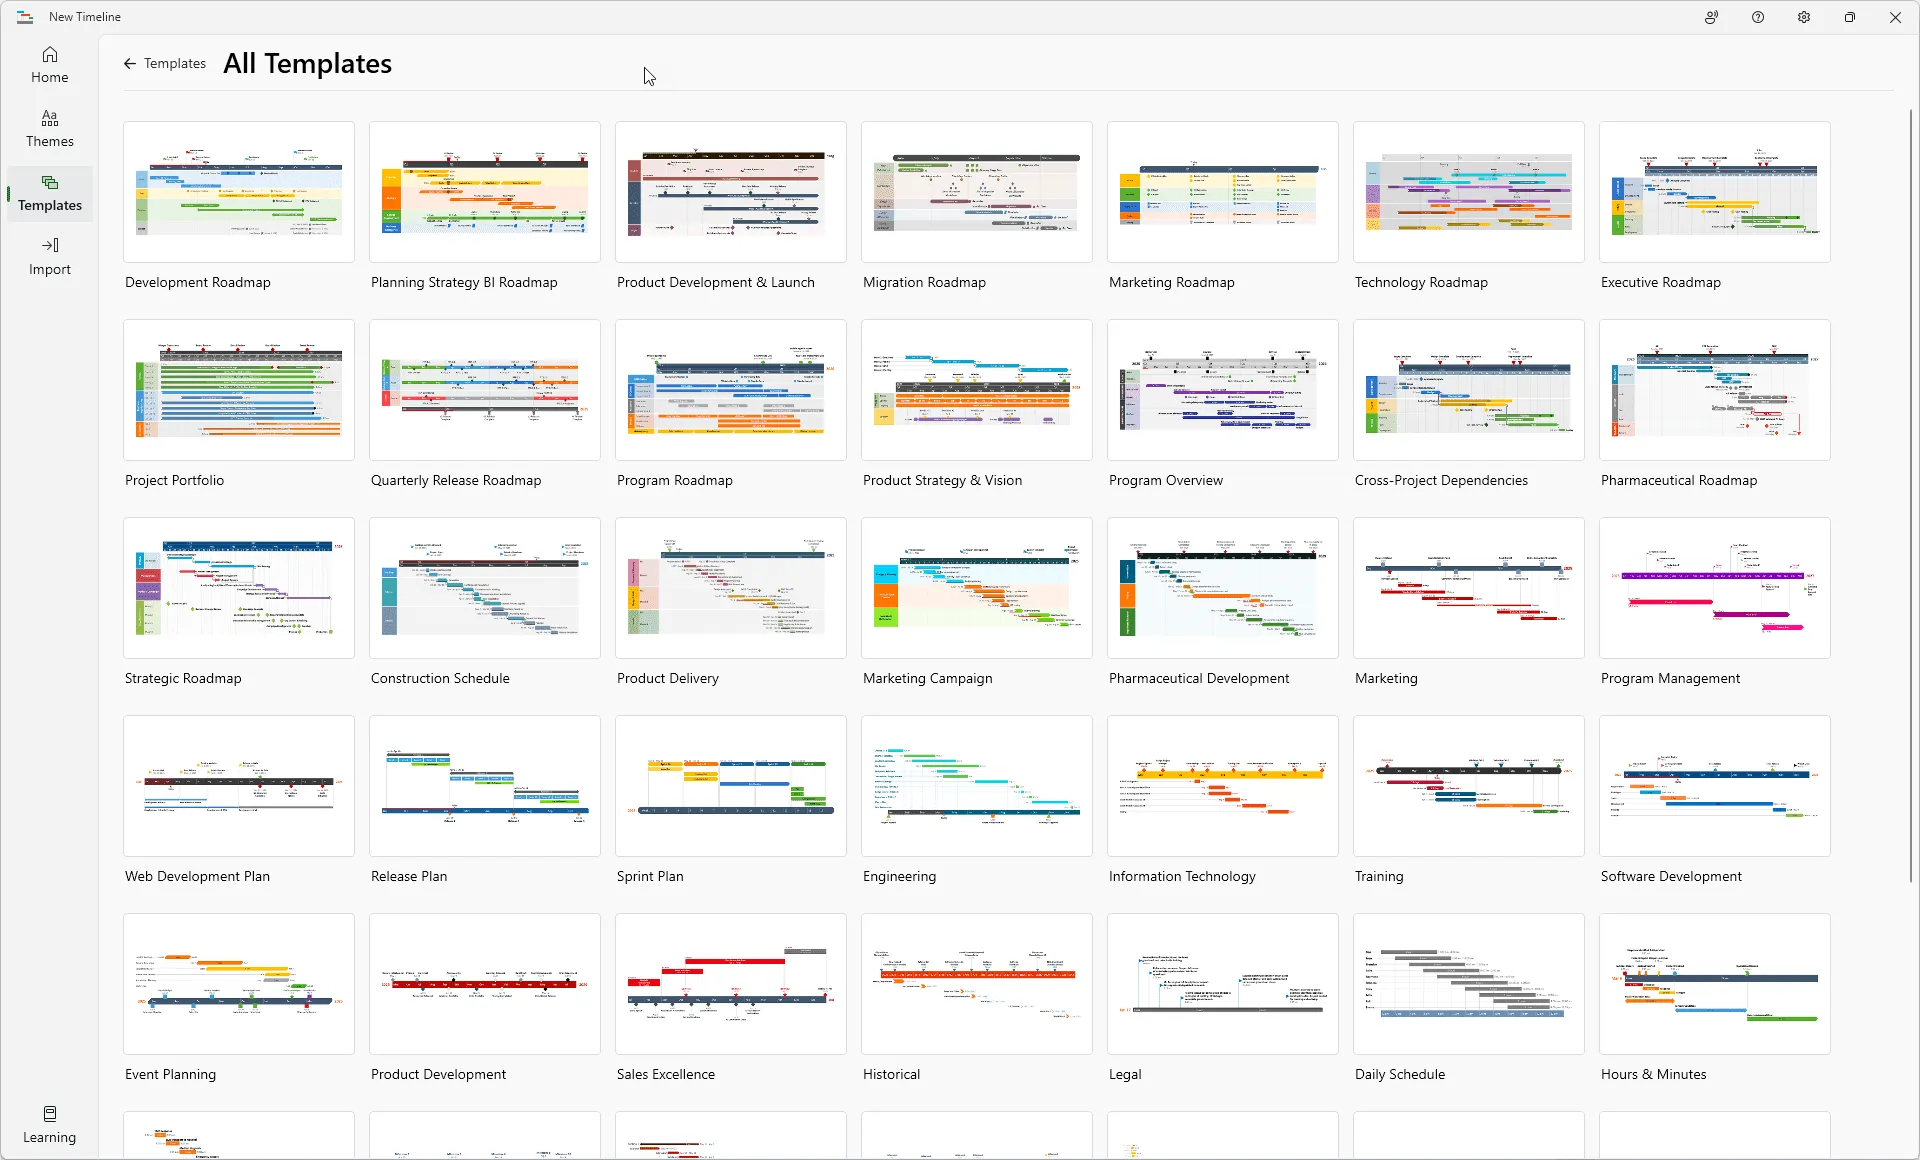
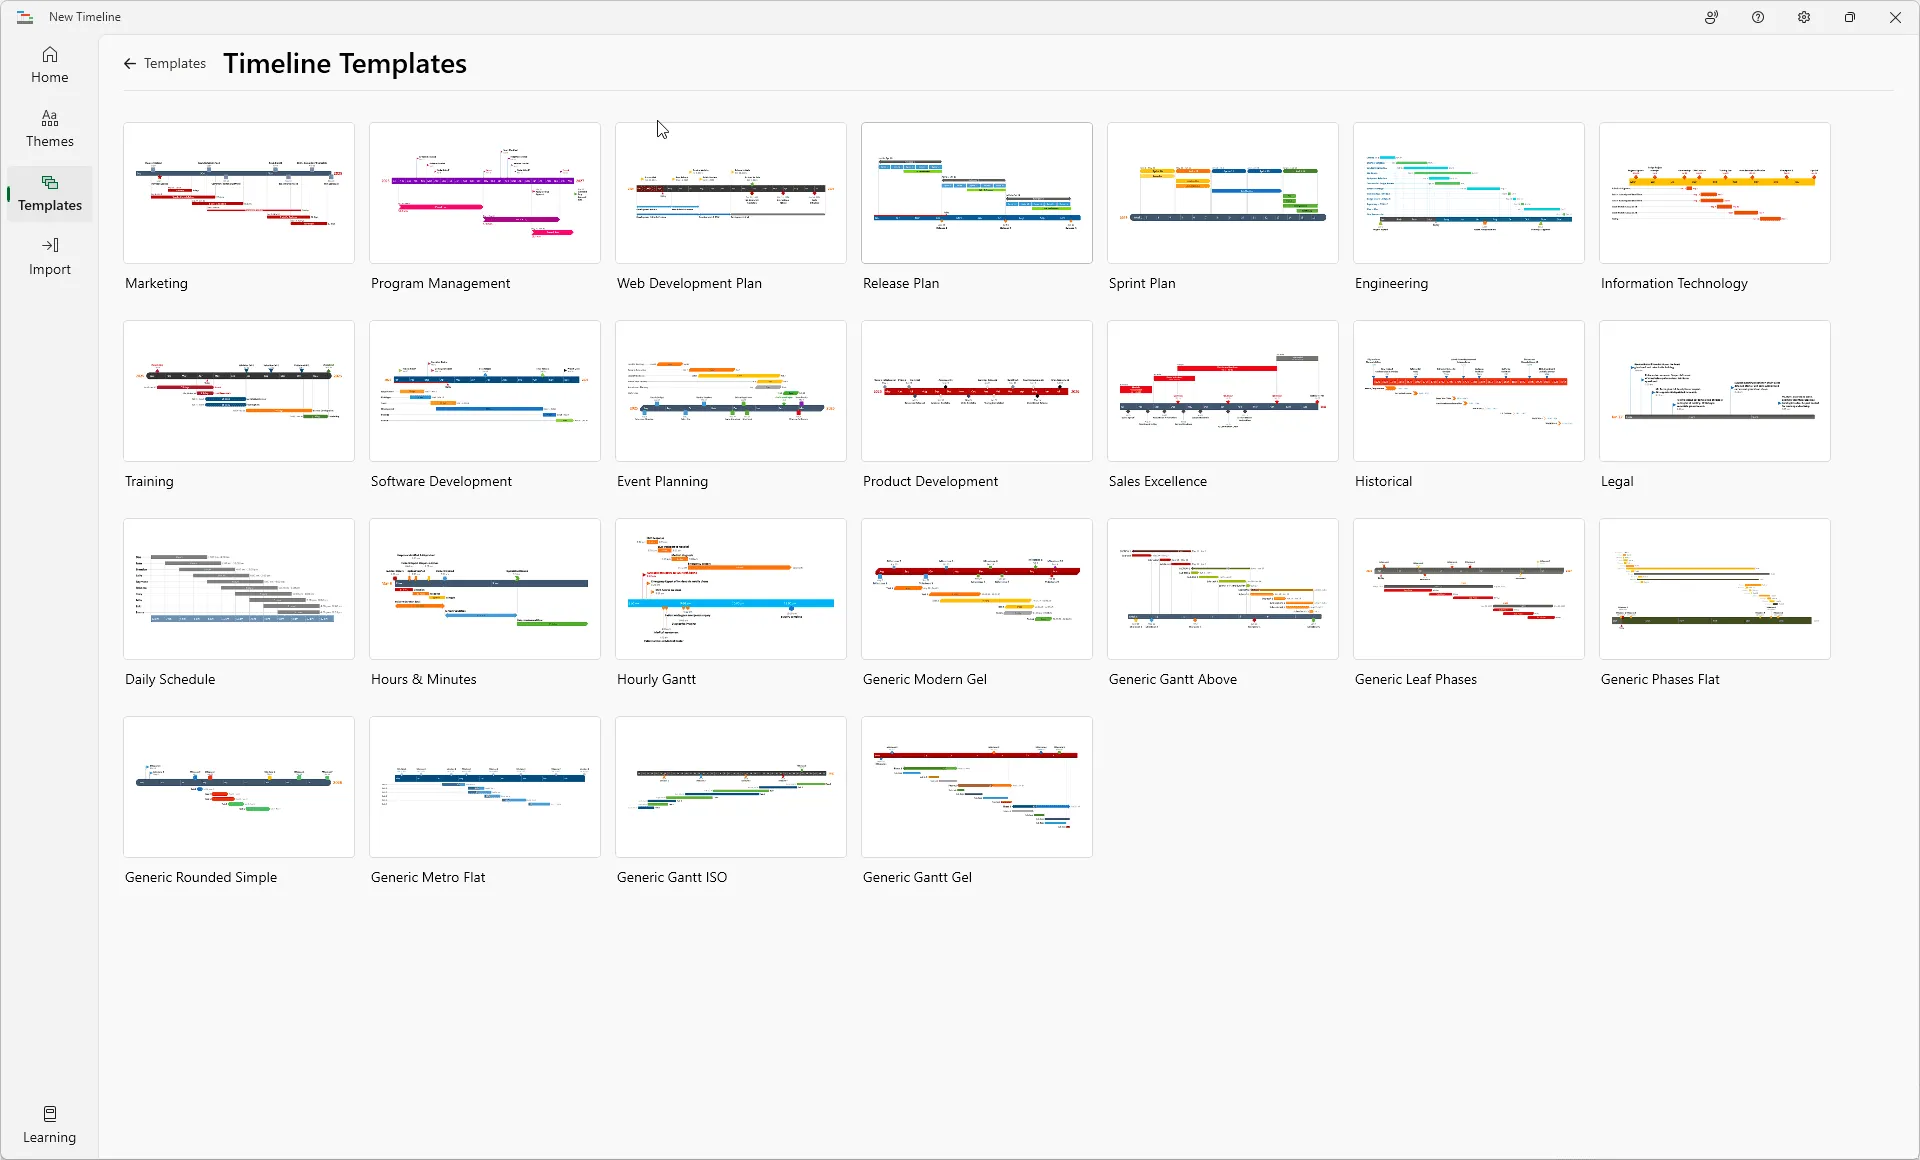
Here’s a sneak peek at a few of the templates it offers:
Creating a timeline can be a helpful way to organize and visualize information. When creating a timeline, it is important to first decide on the scope. This will determine how much detail is required and how far back in time the timeline needs to extend.
Here are the basic steps to create a timeline:
- Choose a time period. Decide on the time period you want to visualize. This will help determine the scale of the timeline.
- Gather and organize information. Once you know the time period you want to focus on, start gathering information. This can include events, dates, people, and anything else that might be relevant. Then organize it in a way that makes sense. This could involve creating categories, grouping items by date, or anything else that will help you make sense of the data.
- Create a visual representation of the information. First you need to choose a format. You could create a traditional timeline with chronological events, or you could use a more creative approach and visualize the information in a different way. Once you have your format and information organized, it’s time to start creating the timeline.
- Add details, such as labels or descriptions, to help explain the information or events.
Want to make it super easy? Use an automated tool such as the Office Timeline PowerPoint add-in and get your timelines ready in minutes, with just a few clicks. All you have to do is use one of the tens of professional timeline templates, insert your data into the timeline creator wizard (by manual input, copy-paste or import), and generate your awesome timeline. Try Office Timeline for free. Your timeline could look like one of these templates (or dozens of others):
There are a few different ways you can do it if you want to make a timeline using one of the productivity tools from Google. You can use the built-in Google Sheets timeline feature or create a custom timeline using Google Drawings. The easiest solution that yields the best results is to make a timeline with the help of a free professional timeline maker and use it in your Google documents.
Find out more details on creating timelines with Google tools in our step-by-step tutorial on how to make a timeline in Google Docs and Google Sheets.
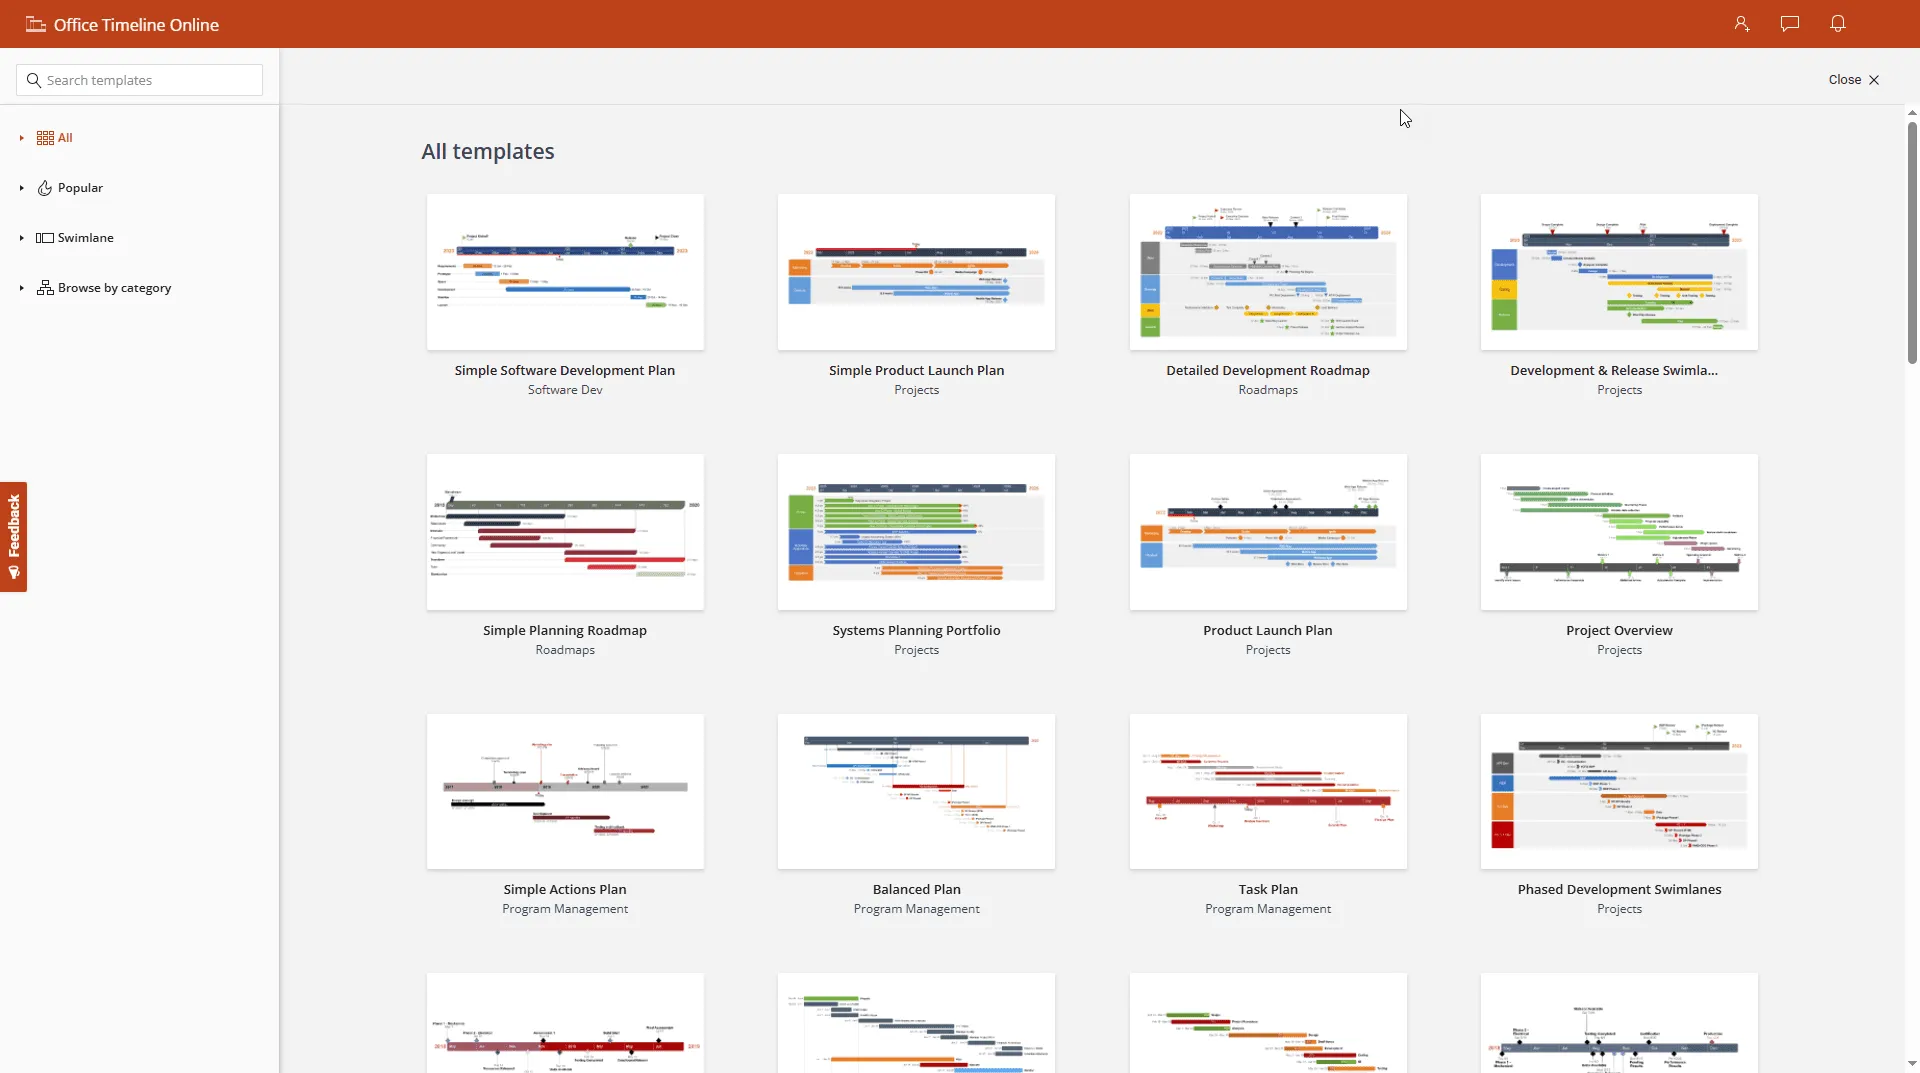
To make a timeline with a free, professional timeline maker, go to Office Timeline Online and pick one of the tens of templates in the tool’s template library, insert your data, and your timeline is ready to use.
The timelines created with Office Timeline Online (the premium version) can be downloaded as images (.png files) or PowerPoint slides (.pptx files). Import the slides into your Google Slides presentation or copy-paste your images directly into the target Google document.
Learn more details on using the timelines created with Office Timeline Online in our support article Office Timeline Online Quick-Start.
You can make timelines in PowerPoint using shapes and lines or using templates. Or, to make it quick and easy, use a free automated timeline maker.
A. Draw a timeline with shapes and lines:
- On the Insert tab, in the Illustrations group, click Shapes.
- Select the line shape that you want to use and draw a line or an arrow to create an axis for your timeline. Then select the shapes that you want from the Shapes gallery on the Insert tab, and draw as many shapes as needed on the slide.
- To format the shape, select it, and use the options on the Shape Format contextual tab.
B. Use a template:
- On the File tab, click New. Type “timeline” in the search box and you’ll see all the available timeline templates available in PowerPoint. Select the one that you want to use.
- Edit the timeline template to add your own content.
- Save the edited timeline template as a PowerPoint presentation.
If the templates in PowerPoint don’t meet your expectations, or if you just want something else, download a free timeline template from our rich collection.
C. Use an automated timeline maker:
If you want to impress your audience and aim for an elegant look for your presentation, create your own professional-looking timelines directly in PowerPoint with the help of Office Timeline, an automated timeline maker that offers a free trial period. With this neat PowerPoint add-in, making timelines is a quick and easy job. The only thing you need to do is select the template you like, copy-paste or import your data and generate your timeline.
There are two ways to make a timeline in PowerPoint using Excel data: you can create a timeline in Excel and copy it in your PowerPoint presentation or you can create the timeline directly in PowerPoint using the data from Excel.
A. Create a timeline in Excel and copy it in your PowerPoint presentation.
This method is quite difficult and time consuming.
- In Excel, create a new workbook and enter your timeline data in a table. The first column should include the date, the position and the name of each event/item in your timeline.
- Select the data and insert a Scatter chart.
- Format the chart as desired, including adding a title, axis labels, and legend. You can find detailed info on making a timeline with Charts in our step-by-step tutorial on how to make a timeline in Excel.
- Copy the chart and paste it into a new PowerPoint slide.
- Add more slides as needed to complete your timeline presentation.
B. Create a timeline directly in PowerPoint using the data from Excel.
This is the easy way, but first you’ll need to download and install the professional, automated timeline maker Office Timeline (free trial). It is a PowerPoint add-in that works perfectly with your Excel data: you just pick one of the tens of templates, copy-paste or import your data from Excel into the timeline creator wizard and your awesome timeline is ready!
Learn more on creating timelines in PowerPoint using Excel data in our step-by-step tutorial on how to make a timeline in PowerPoint automatically.

PowerPoint timeline maker
Quickly create impressive timelines for client and executive updates with the Office Timeline PowerPoint add-in. It syncs with popular tools to turn project data into slides instantly.