From idea to alignment: visualize early projects with Office Timeline
Turn early project ideas into clear, actionable timelines. Learn how to use Office Timeline to define and prioritize objectives, gather input, and align stakeholders on a shared plan.

Early-stage project ideation is where successful initiatives begin — or fall apart. It’s the phase where teams define problems, explore possibilities, and decide what’s worth pursuing. But turning raw ideas into actionable plans isn't easy, especially when input is scattered and stakeholders come in with competing priorities.
For project managers, the challenge lies in creating clarity and alignment from the very start. Without it, even strong ideas can get lost in miscommunication, duplicated efforts, or siloed thinking.
This is where visualization tools like Office Timeline come in. By transforming abstract ideas into clear, shareable timelines, you give teams a common reference point, invite structured input, and create early buy-in — long before execution begins.
How visual timelines bring clarity to project ideation
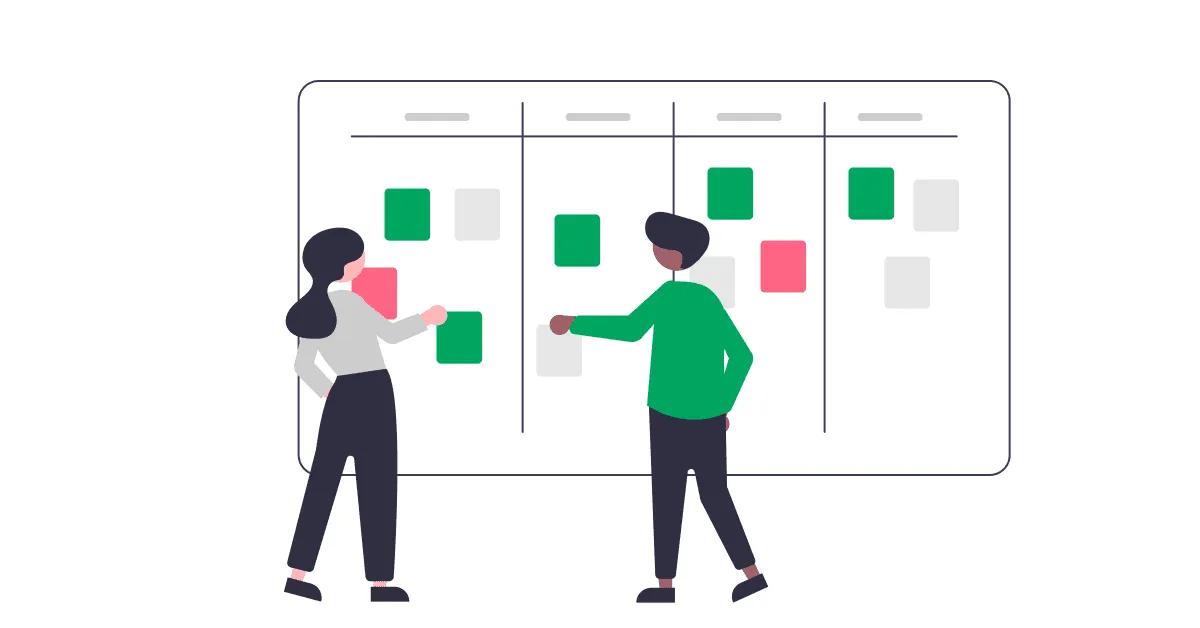
Project ideation is messy by nature — and for project managers, the hardest part often isn’t coming up with ideas but organizing them into something teams can act on. This is where visual timelines become a powerful tool.
Using a timeline maker like Office Timeline, project managers can turn fragmented input — notes, rough ideas, scattered feedback — into a single, high-level visual plan that’s easy to grasp, flexible to edit, and powerful enough to guide early collaboration. Here’s how a well-crafted visual timeline supports every stage of early project ideation:
Structure abstract ideas into clear phases.
When early-stage concepts are scattered across notes and chats, it's hard to see the full picture. A timeline helps break complex initiatives into manageable phases, reveal overlaps or gaps, and make abstract thinking tangible from the start.
Help teams retain and align on key information.
Timelines aren’t just functional — they’re cognitively effective. Visual plans improve recall, reduce repeated questions, and keep everyone aligned without constant reminders. They free up mental space for real work, not rework.
Provide a shared reference point.
A timeline becomes a single source of truth for all teams — from R&D to marketing. It promotes faster decisions, supports asynchronous collaboration, and grounds discussion in shared reality, not siloed assumptions.
Nonetheless, the power of a clear visual plan only matters if you can build and share it easily. That’s where a robust and intuitive timeline maker like Office Timeline comes into play.
Setting up a collaborative project ideation workflow
When ideas are abundant but direction is scarce, project managers need a simple, visual process to steer teams from initial spark to actionable scope. Here's a practical three-step framework to guide collaborative ideation using Office Timeline.
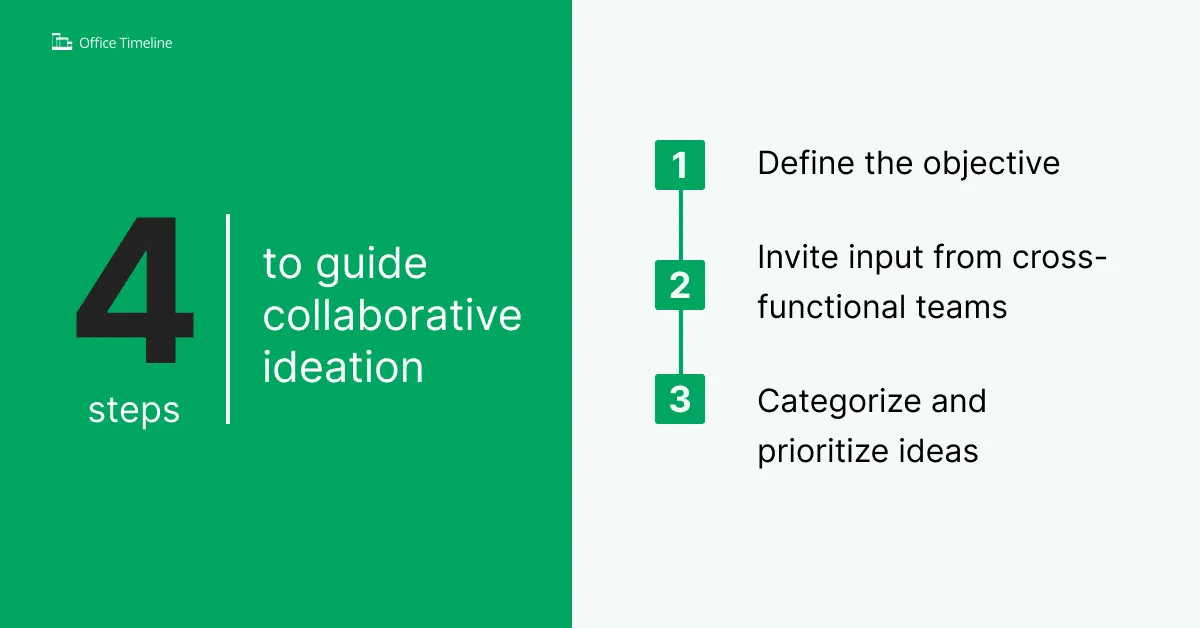
Step 1: Define the objective.
Before anyone starts tossing proposals onto a slide, it’s critical to first agree on why you’re meeting. Draft one crisp, jargon free sentence that states the problem or opportunity (“Reduce onboarding time by 25%”, “Launch a subscription tier for power users”, etc.). Place it at the very top of the slide, so it’s impossible to miss.
Next, create a simple timeline with three milestones: a start date (when brainstorming opens), a midway “gut-check” milestone, and a final cutoff for submissions. Visually mapping out this “idea zone” serves two purposes:
- It keeps discussions from drifting into unrelated wish lists (avoiding scope creep);
- It shows contributors exactly how much time they have to think, sketch, or research before the team moves on.
Add the project manager’s name beside the goal so stakeholders see who owns the call for ideas. With the purpose, owner, and time box all in one place, you’ve given the brainstorm a clear runway.
Step 2: Invite input from cross-functional teams.
Now it’s time to assemble the dream team, so invite the relevant departments (marketing, engineering, finance, customer support, etc.) to jump in. Save the timeline to a shared drive so people can add thoughts on their own schedule.
Ask each participant to drop new milestones directly onto the date band or to leave a quick comment beside an existing one. It’s advisable to encourage brevity, wherever possible: a five-word title plus a one-sentence note beats a paragraph no one will read.
This lightweight approach allows colleagues who are syncing from opposite ends of the day (and introverts) to contribute without yet another calendar-crushing meeting. To spark creativity, challenge everyone with a simple prompt: “If we could only fund one idea this quarter, what should it be and why?”
Over a day or two you’ll see multicolored milestones stacking up, ushering in the flow ideas from all directions. Because everything lives on one slide, context never gets lost, and conversations stay anchored to the same visual.
Step 3: Categorize and prioritize ideas.
Got a healthy pile of suggestions? Great! Now let’s give that heap some shape. First, duplicate the original slide, so the raw brainstorm stays safe in its own copy. Open the Style Pane and slap on a quick coat of meaning, err, color. For example, you can try green for “easy win,” yellow for “needs a closer look,” red for “bold bet.”
Swimlanes are another option for sorting the milestones. Drag each milestone into lanes like Customer Value, Revenue Boost, or Tech Effort, whichever labels help the team see patterns fast. When everything’s grouped, ask everyone to vote: a 1-to-5 score, a speedy poll or any tiering option you can think of.
Office Timeline stores any extra context right inside each milestone’s Notes field, so background details travel with the timeline wherever it goes. In just a few minutes, you’ll transform brainstorm fluff into a fully comprehensible, color-coded roadmap that makes priorities pop, with no detective work required.
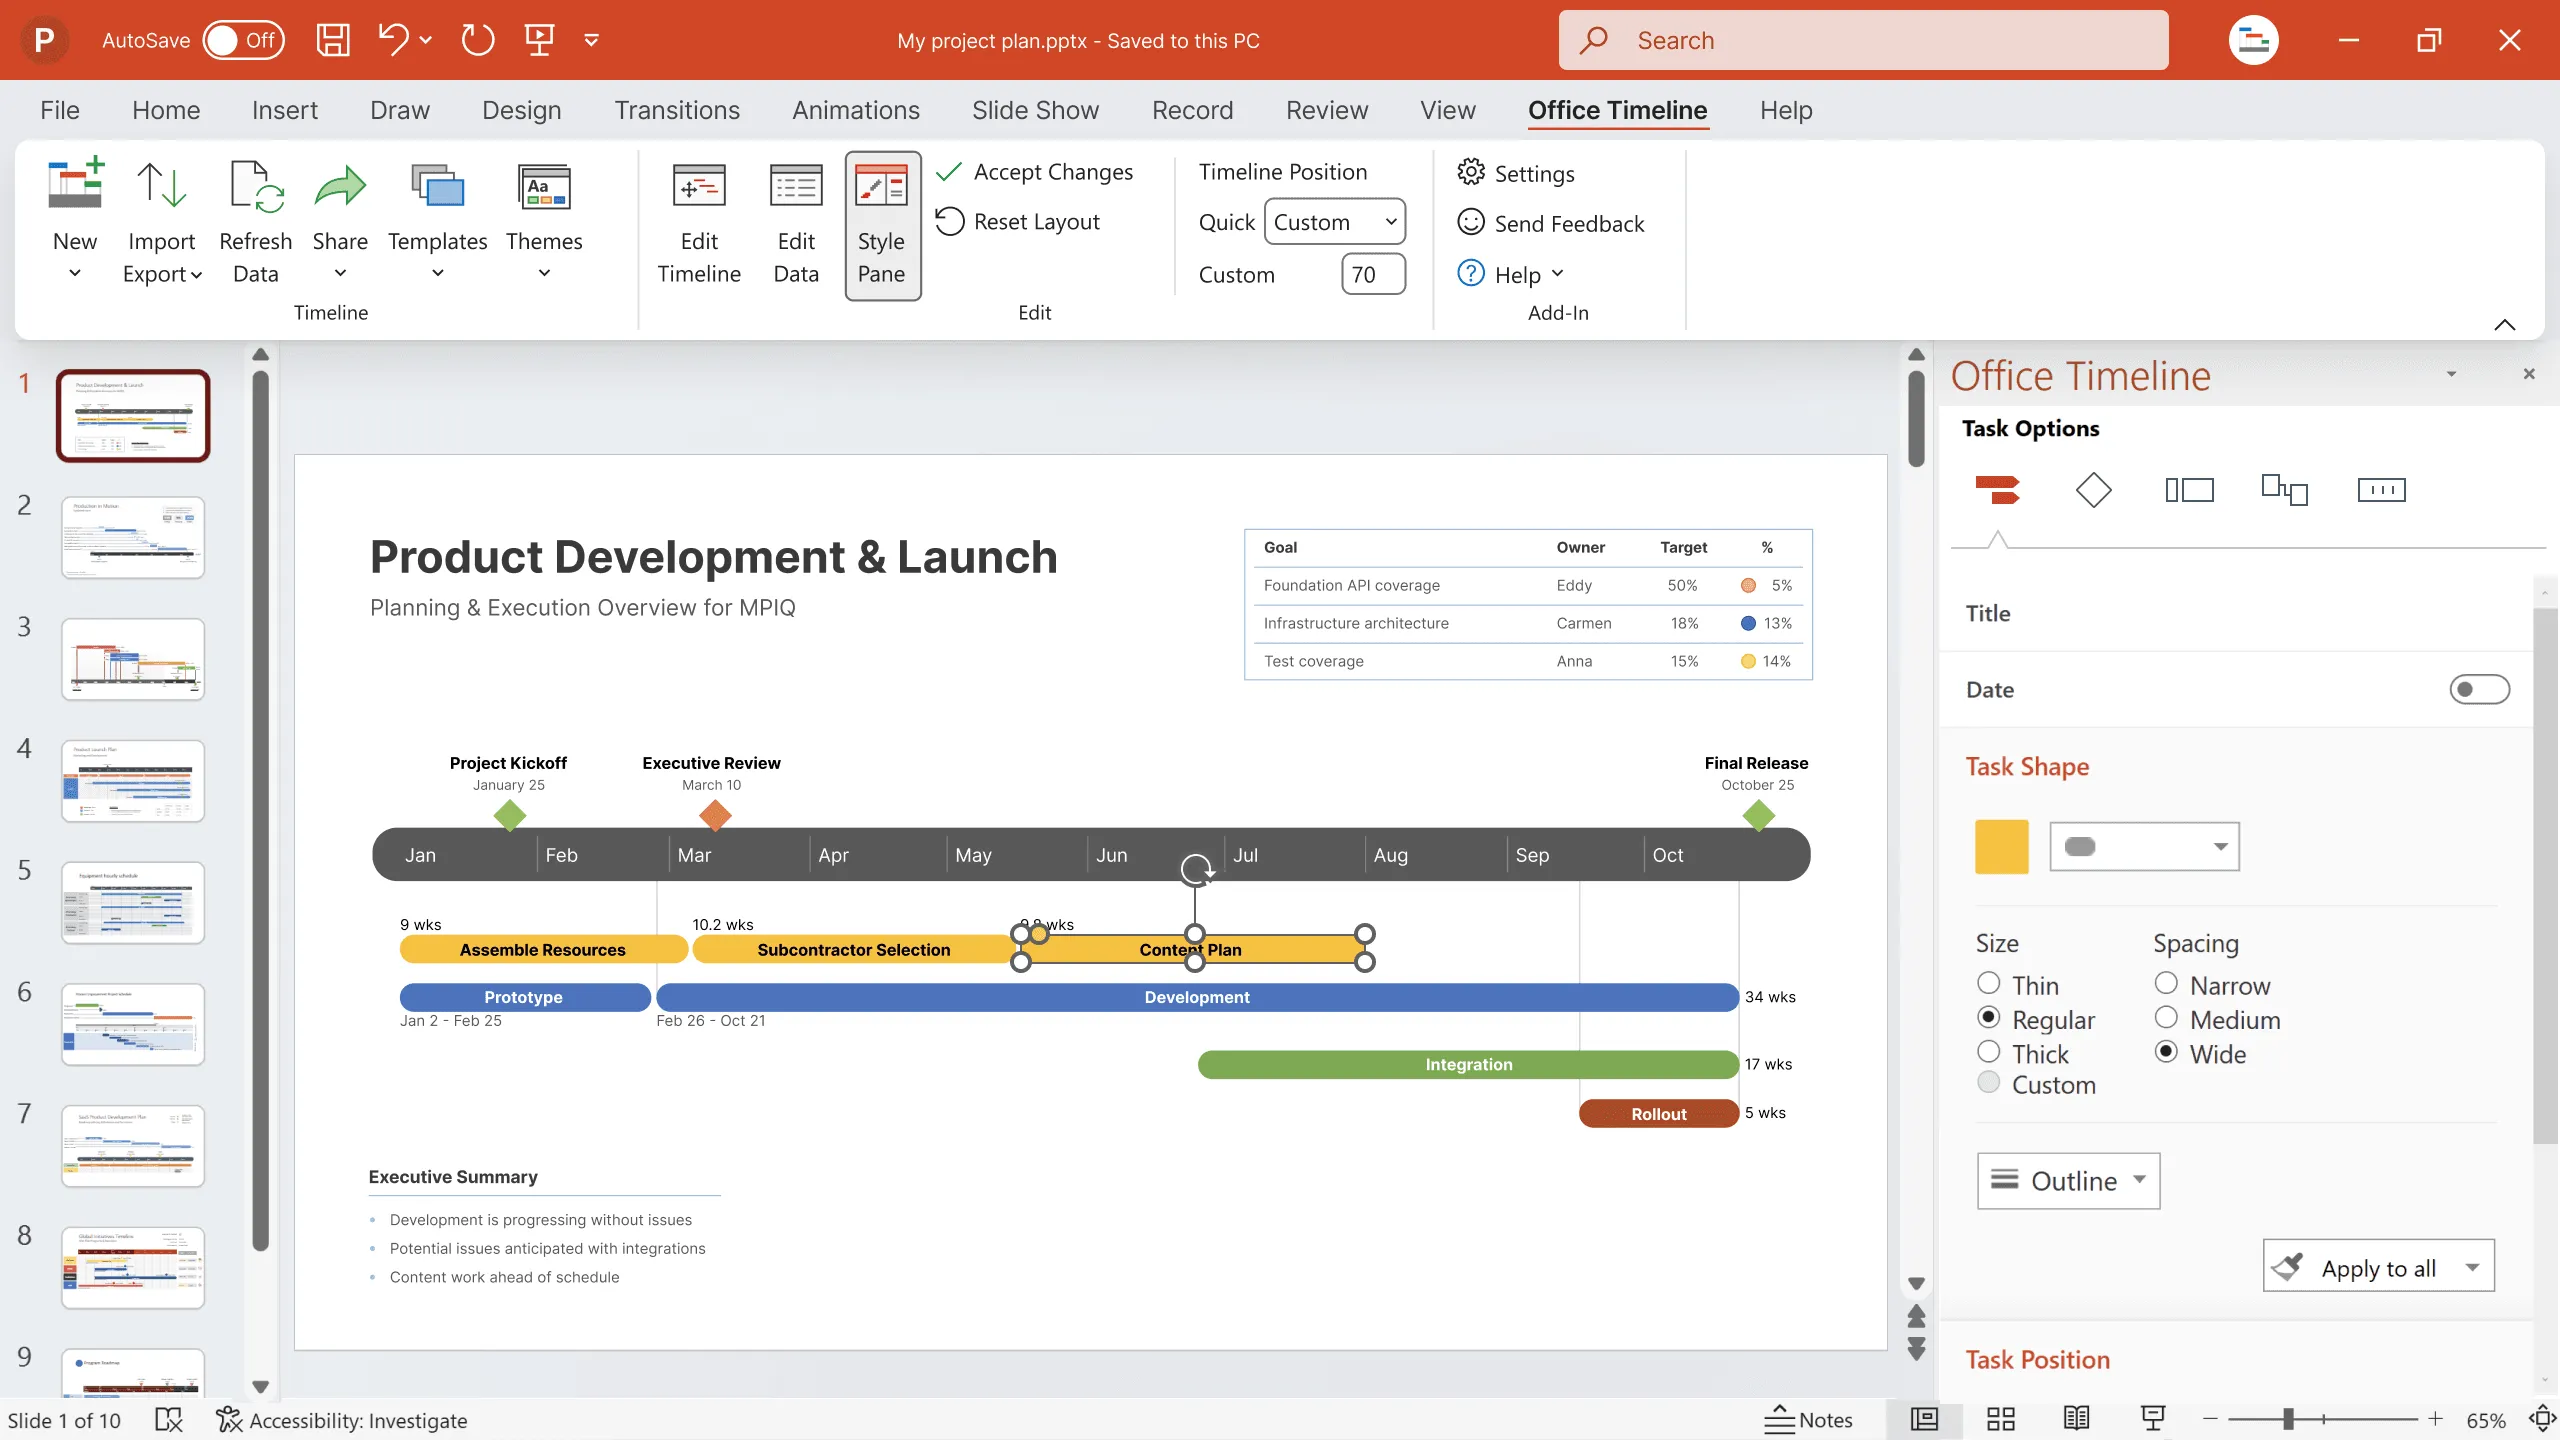
Using Office Timeline to build and share early concepts
Office Timeline combines ready-made templates and themes, drag-and-drop editing, dependencies and critical path, as well as flexible data imports/exports to help you assemble and share your roadmap in just a few steps. Let’s elaborate.
1. Kick off with a template or blank canvas.
Open the Timeline Wizard and pick Create from Template – you’ll get a formatted slide with placeholder milestones and dates already in place.
In the Data view, swap out those placeholders for your project’s milestones and rough dates. Switch to Timeline view, and you’ll see your visual come to life instantly. Need to tweak sequencing? Grab any milestone inside the Edit Timeline window and drag it into position.
2. Add rich context without clutter.
Every milestone comes with a built-in Notes field. Click the notes icon in Data view, type or paste your assumptions and risks. That extra detail travels with the timeline, so you avoid cluttering the slide while keeping all the background information at your fingertips.
3. Import existing plans in seconds.
Got early data in Excel or Microsoft Project? Hit Import, select Excel or Project, map your columns (Title, Start/End, Notes, swimlanes), and Office Timeline pulls in your tasks as milestones on a new slide.
Voila! Office Timeline has just turned your early-stage ideation into a professional roadmap you can actually share. You can discover more tips and tricks to help you maximize the effectiveness of our PowerPoint add-in in the support section, but right now let’s get back to our topic. Next, we’ll look into the best practices of sharing your early project ideation that promote stakeholder engagement and foster team alignment.
Sharing with stakeholders for feedback
A rough timeline isn’t the end of ideation — it’s the beginning of a conversation. The way you present early-stage visuals can either invite collaboration or shut it down. Here’s how to share timelines that encourage feedback and drive alignment.
Keep it high-level and flexible.
Rather than a day-by-day schedule, frame your timeline in broad phases – Now / Next / Later or themes like Research, Prototype, and Pilot. Loose horizons invite strategic thinking and avoid premature arguments about specific dates. This type of labeling also maintains stakeholder engagement and focus, instead of forcing them to police every milestone, as this piece shows.
Treat the timeline as a living draft.
A timeline isn’t a contract, it’s a conversation starter. An Agile roadmap guide recommends reviewing and revising your roadmap at regular intervals, so it evolves as you gather more insights and feedback.
Use visuals to prompt questions.
Frame your slide with prompts like “What gaps do you notice?” or “Does this overlap feel realistic?” A communication study found that asking open-ended questions about a simple chart surfaces hidden dependencies and potential conflicts far earlier than unstructured discussions.
Lead with the objectives, then drill down to the core.
Start by presenting the “why” and the major workstreams. Only after you’ve got agreement on the overall story should you step into task-level detail. This approach keeps the focus on strategy first and prevents sidetracking debates over individual tasks.
Embed the timeline in everyday channels.
Don’t save your visual for a special meeting. Drop it into weekly status emails, pin it in your shared drive, or post it in your team’s chat. When the timeline is part of daily conversations, suggestions arrive organically and in context.
Pair visuals with quick pulse questions.
After sharing, send a two-question survey: “What stands out?” and “What might we be missing?” Then publish a brief “You said / We did” summary. This structure shows stakeholders their feedback shapes each version, building trust and engagement.
Maintain version history by duplicating slides.
Before each update, right-click the slide thumbnail, choose Duplicate Slide, and make your changes there. Over time you’ll accumulate an audit trail of iterations. No separate changelog is needed, yet you now have full transparency on how the plan has evolved.
Note: When you present your timeline as an open-ended draft and weave feedback seamlessly into ongoing workflows, you transform passive observers into active collaborators. Stakeholders who see their input reflected in each version not only feel heard but also become advocates for the plan. That shared ownership leads to faster approvals, tighter alignment, and a roadmap that truly reflects collective insight, setting the stage for successful execution.
Case study: Precision Project Partners
One real-world example that proves first impressions matter is Precision Project Partners. Clients want to know that you not only understand their challenges but also have a clear plan to solve them.
For Precision Project Partners, a UK-based firm working across industries like oil and gas, telecom, and banking, that meant finding a better way to communicate complex project plans quickly and clearly. Their story is a great example of how the right tools can elevate your project delivery and build trust from day one.
The problem: last-minute planning
Precision Project Partners often works with clients who don’t have strong internal project planning capabilities. That means they’re not just delivering projects — they’re also helping clients understand what good planning looks like.
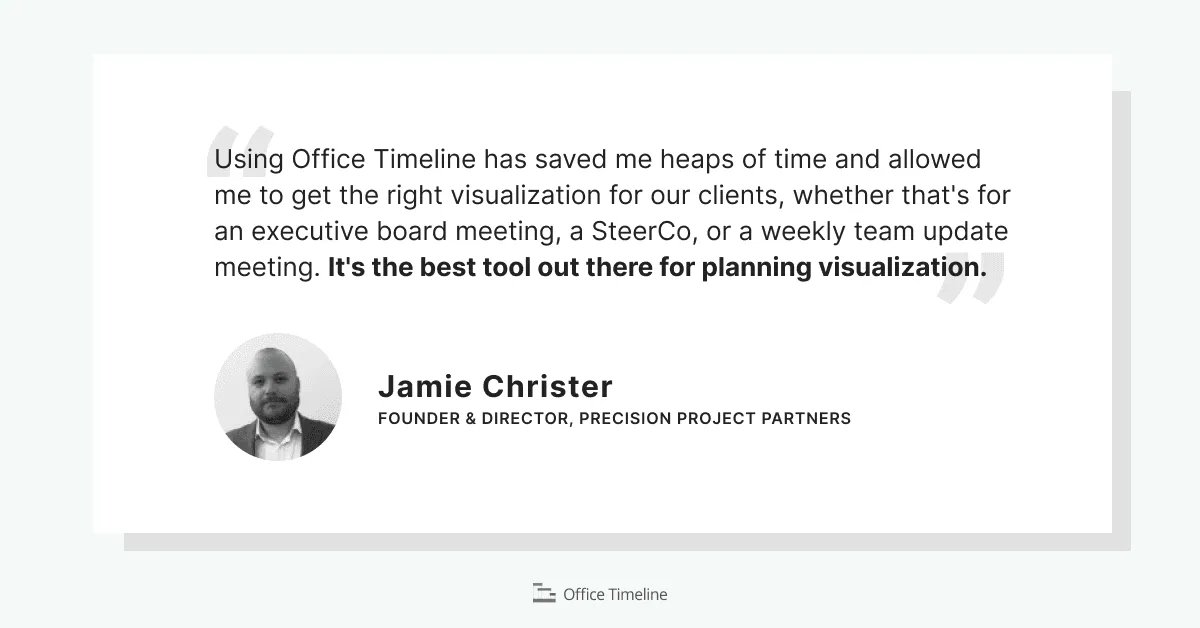
But when it came to presenting those plans, the tools they were using (like Microsoft Project) were too complex and not exactly executive-friendly. Founder Jamie Christer found himself in a tough spot when a client asked for a clear visual of a major transformation program — and the tools at hand just weren’t cutting it.
The solution: clear visualizations
That’s when Jamie turned to Office Timeline. With it, he was able to quickly turn detailed project data into clean, professional visuals that made sense to everyone in the room — even under tight deadlines.
The tool became a game-changer for the firm, helping them create timelines and roadmaps that looked great in boardrooms and made it easier to get buy-in from stakeholders. It wasn’t just about making things look nice — it was about making complex plans understandable and actionable.
The impact: improved client communication
The difference was immediate. Instead of spending hours formatting slides or explaining dense project charts, the team could focus on what really mattered: delivering results.
Clients responded positively to the clarity and professionalism of the visuals, and Precision Project Partners found it easier to build trust early in engagements. The tool helped streamline communication, reduce confusion, and ultimately made the firm more efficient and credible in the eyes of their clients.
Key takeaways for project managers
Precision Project Partners’ success with visual timelines offers four critical lessons:
- Clear visuals build trust fast. When stakeholders can see the plan clearly, they’re more likely to get on board.
- Flexibility is essential. Being able to update visuals quickly helps you stay responsive in fast-moving projects.
- Time saved is value added. Less time formatting means more time solving real problems.
- Consistency matters. Delivering polished visuals every time reinforces your professionalism.
Why this matters
In project management, how you communicate is just as important as what you deliver. Precision Project Partners’ story is a great reminder that the right tools can make a huge difference — not just in how you work, but in how you’re perceived.
When you can present your plans clearly and confidently, you set the tone for the entire project. That kind of clarity isn’t just nice to have it, it’s essential.
Tips for maximizing collaboration with Office Timeline
You’ve seen how a shared timeline can unite teams. Now let’s make that collaboration stick. These practices will help you turn a simple slide into a true team hub.
Color-code by team with swimlanes
Give each department its own lane: marketing in one row, R&D in another, sales below. Instantly everyone knows where their work lives and how it fits together. A glance at the lanes shows who’s ahead, who’s waiting on feedback, and where hand-offs happen. It keeps contributions tidy and prevents milestones from overlapping without extra meetings.
Build timeline checkpoints into your calendar
Pick a cadence: weekly, bi-weekly, whatever fits your pace, and treat that slot like a mini-retrospective. Open the timeline, surface any shifts or risks, and realign priorities before they snowball. Over time, these quick reviews become a heartbeat for the project, keeping momentum up and surprises down.
Let the visuals tell the story
Swap dense status reports for a 60-second walkthrough of your timeline: highlight the phase you’re in, call out any new entries, and pose one or two quick questions (“Does this overlap look tight?” or “Any gaps we’ve missed?”). Visuals anchor people’s attention and spark focused discussion far better than bullet-point slides that everyone tunes out.
Make the timeline your team’s anchor
By combining swimlanes, scheduled check-ins, and visual storytelling, Office Timeline becomes more than a graphic. It becomes a shared reference point — one that keeps every function aligned, engaged, and steering toward the same outcome.
For a deeper look at how to drive efficiency through collaborative timeline use, check out our guide to maximizing team efficiency with Office Timeline.
Conclusion
A well-crafted timeline does more than track dates — it turns early ideas into a shared roadmap. Risks surface sooner, responsibilities are clear, and teams move forward with alignment and purpose. Instead of debating who’s doing what and when, you can focus on what matters: making smarter decisions, faster.
Ready to turn your next brainstorming session into real momentum? Try Office Timeline and watch your team’s insights come together in one clear, actionable roadmap.
Project management tips and tricks
Tagged With:
visual project managementTurn project data into professional timelines
Get the advanced features of Office Timeline free for 14 days.