Change the timescale of your project’s timeband
Tips on how to change the timescale of your project’s timeband in Office Timeline add-in

Last updated on March 11, 2024
Your project might span multiple years or just a few days. In all cases, you can adjust the time intervals on the project’s timeband to be displayed in the format you need: Days, Weeks, Months, Quarters, or Years.
Here is how you can do it easily and quickly in just four steps:
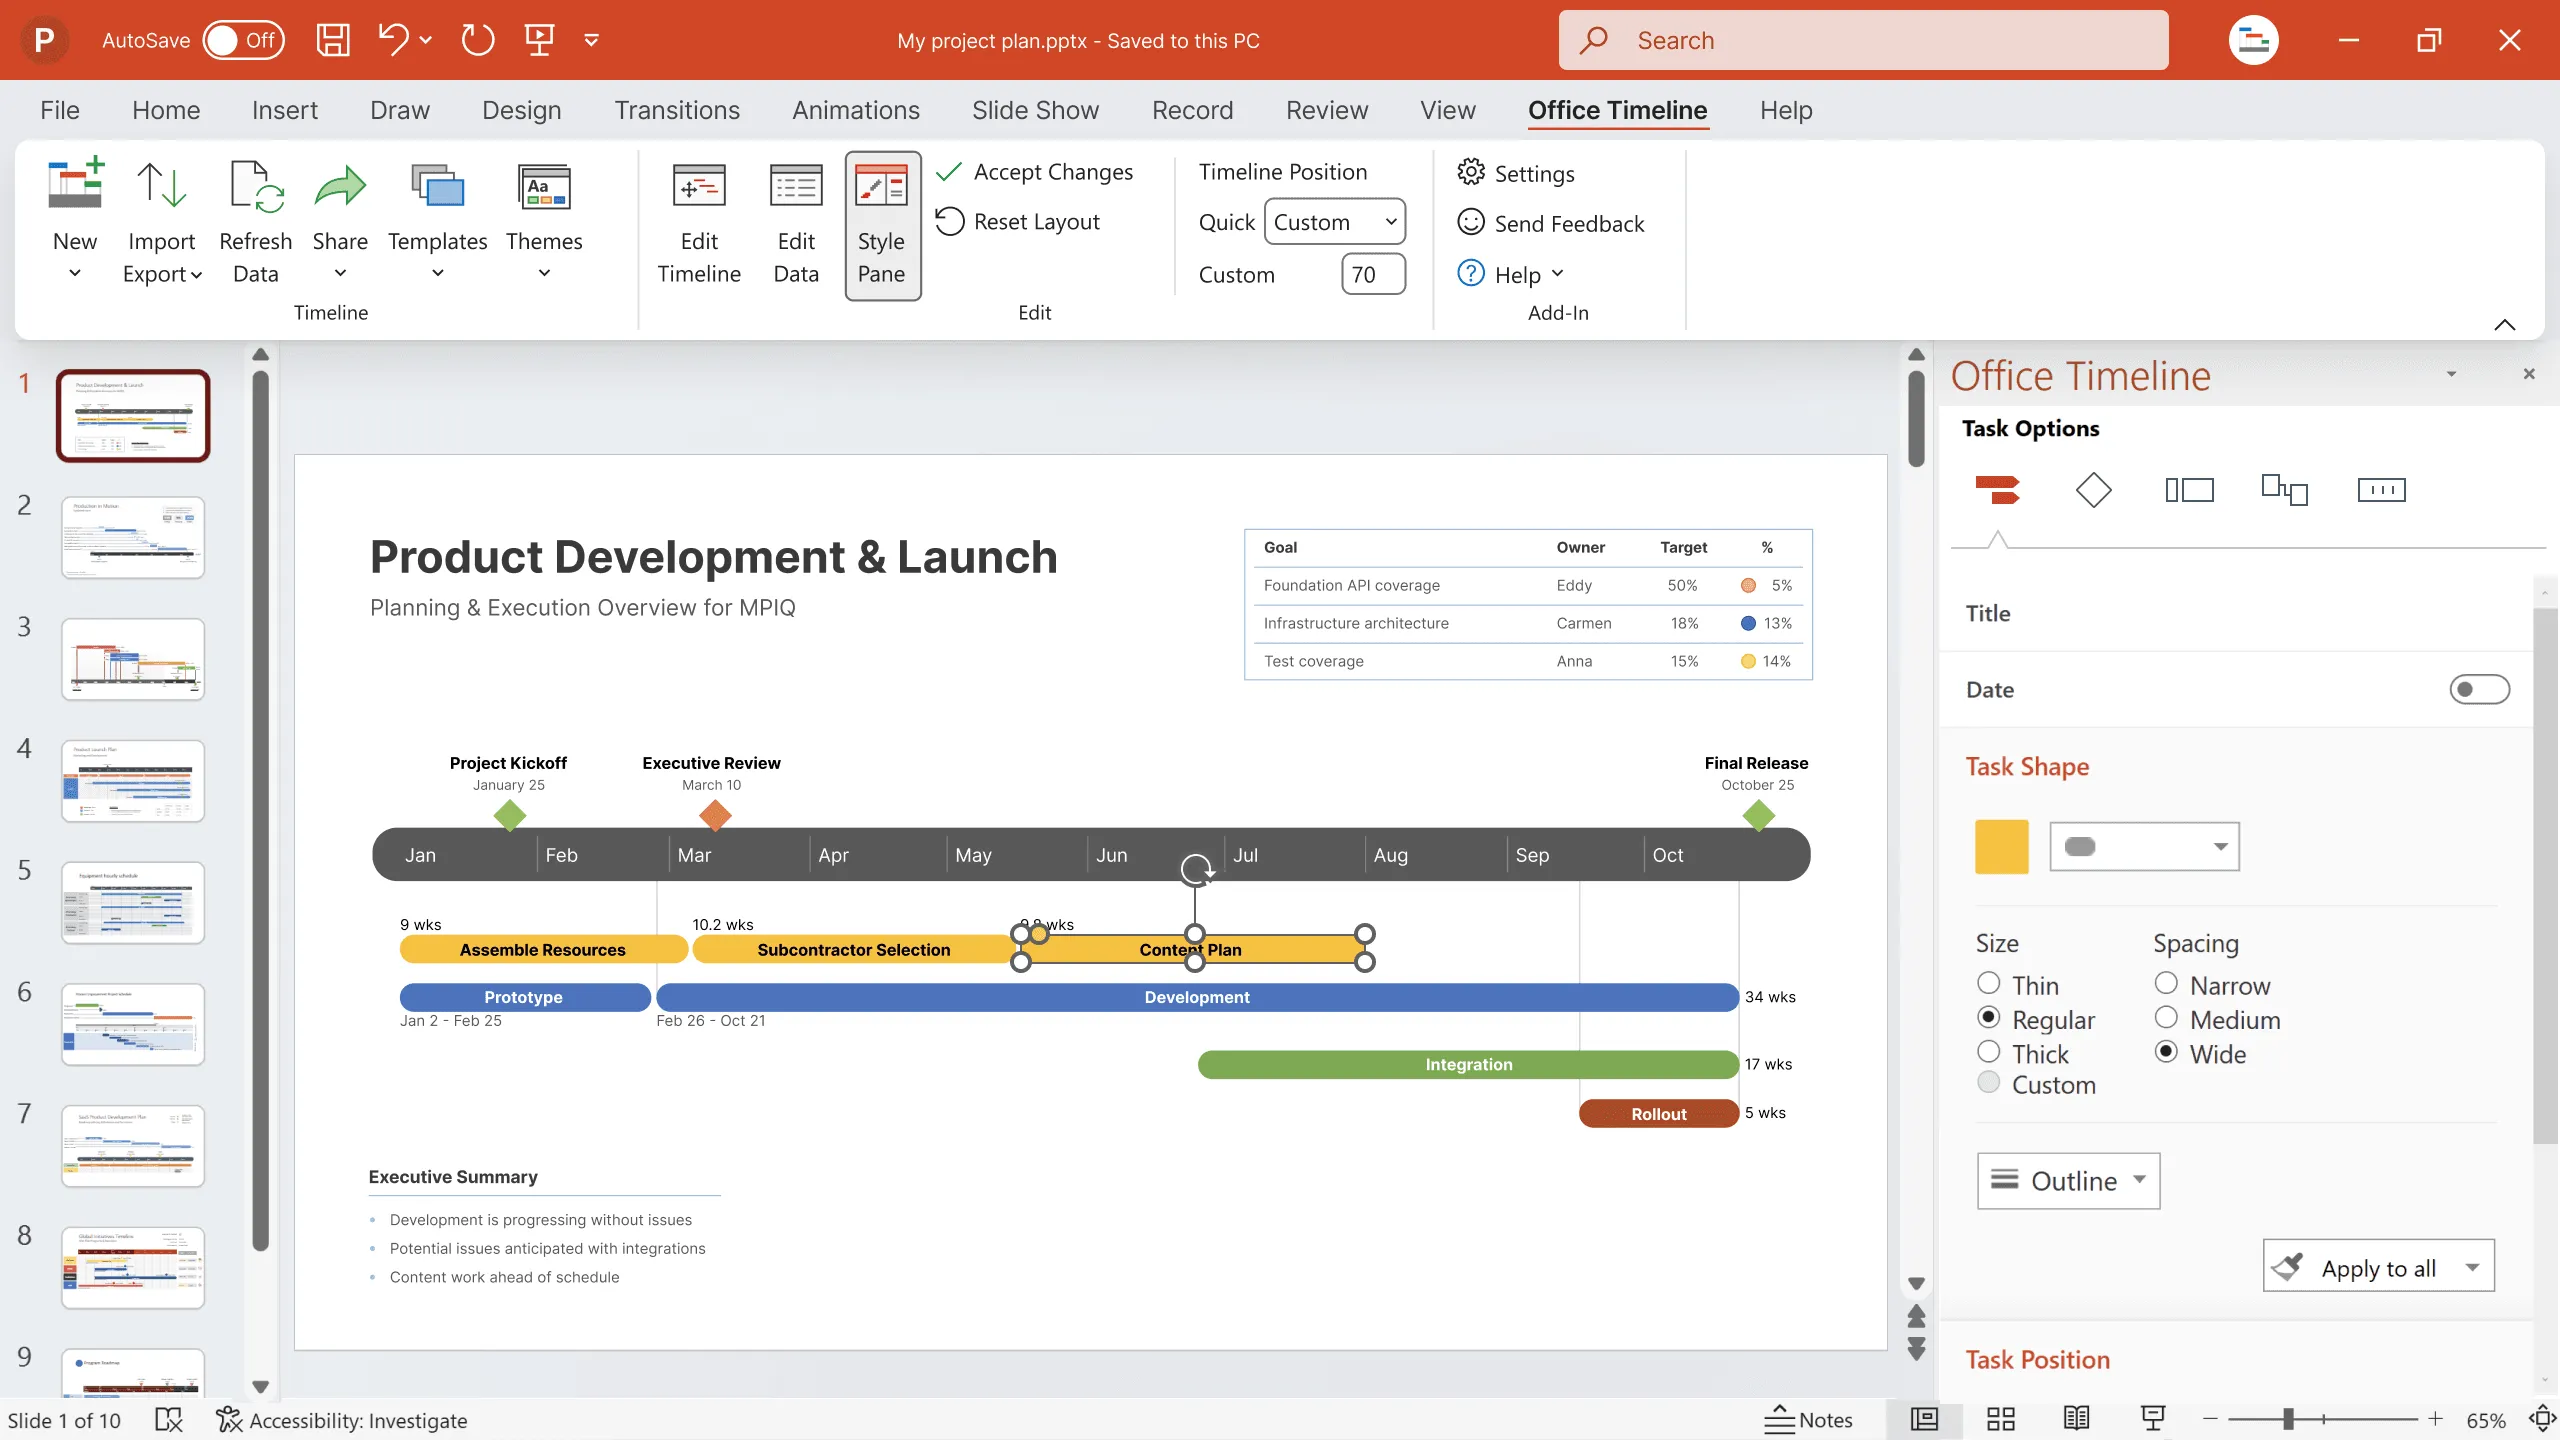
1. Open your timeline slide in PowerPoint and select your graphic’s timeband.
2. With the timeband selected, go to the Timescale settings section in the Office Timeline Style Pane on the right side.

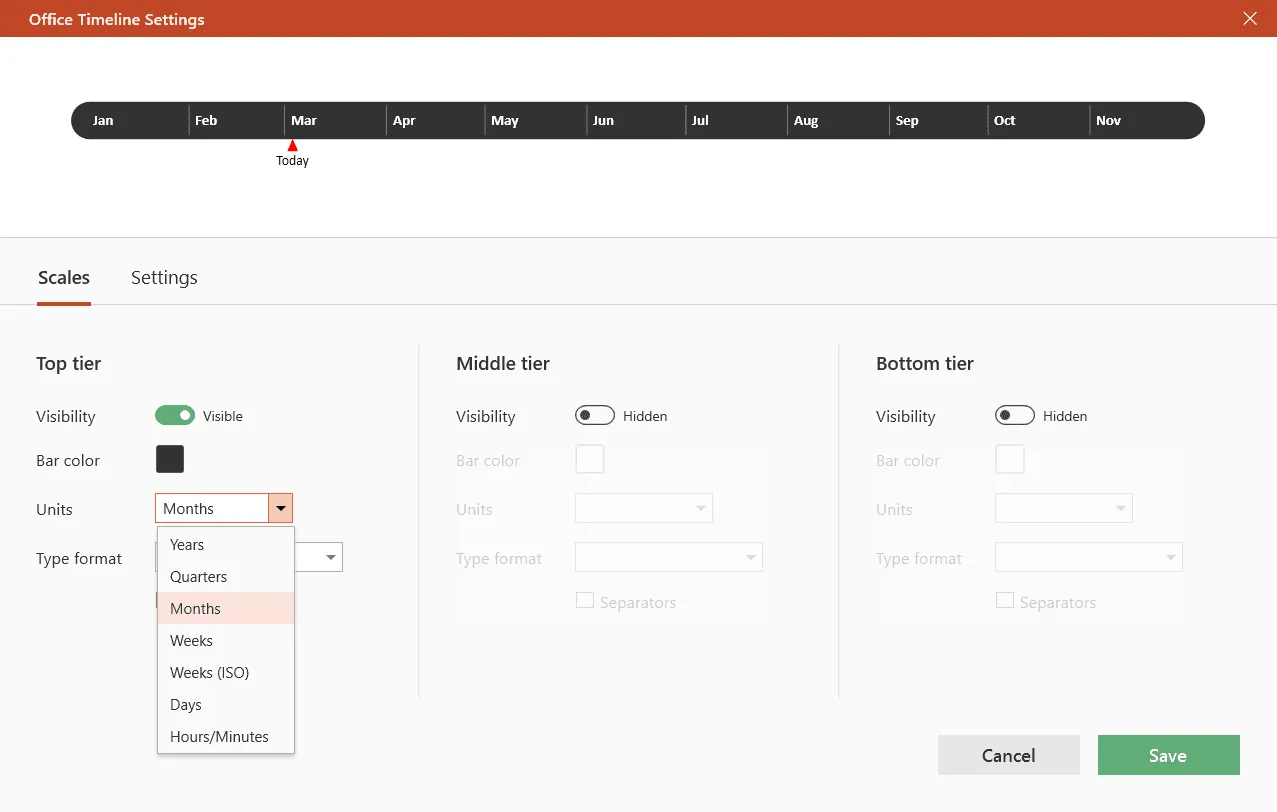
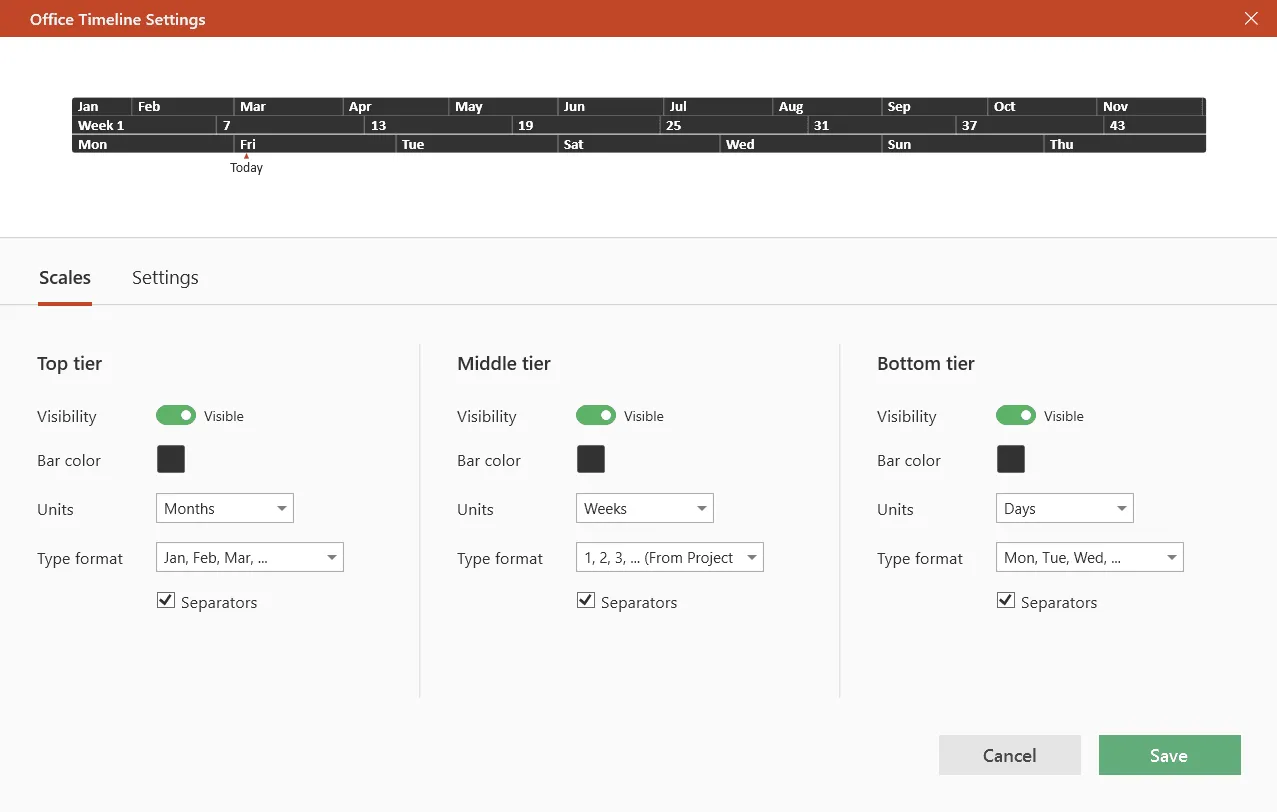
3. From the Scales tab, pick a timescale from the options available (Hours/Minutes, Days, Weeks, Weeks (ISO), Quarters or Years). The add-in will automatically update your timeline, repositioning the tasks and milestones.
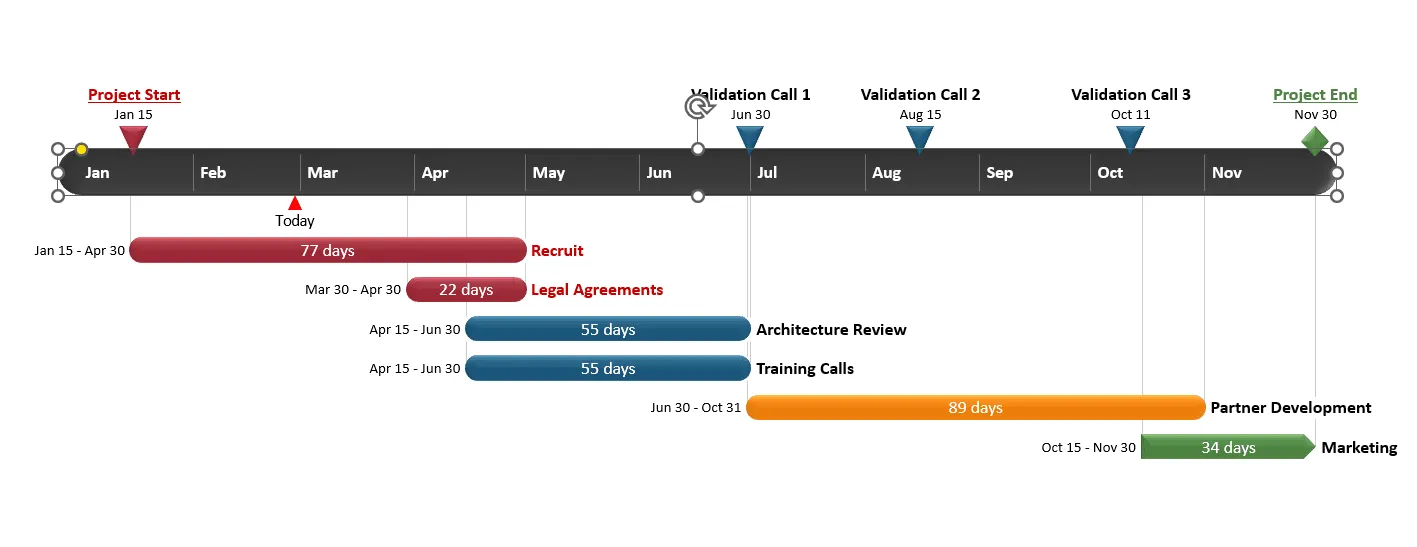
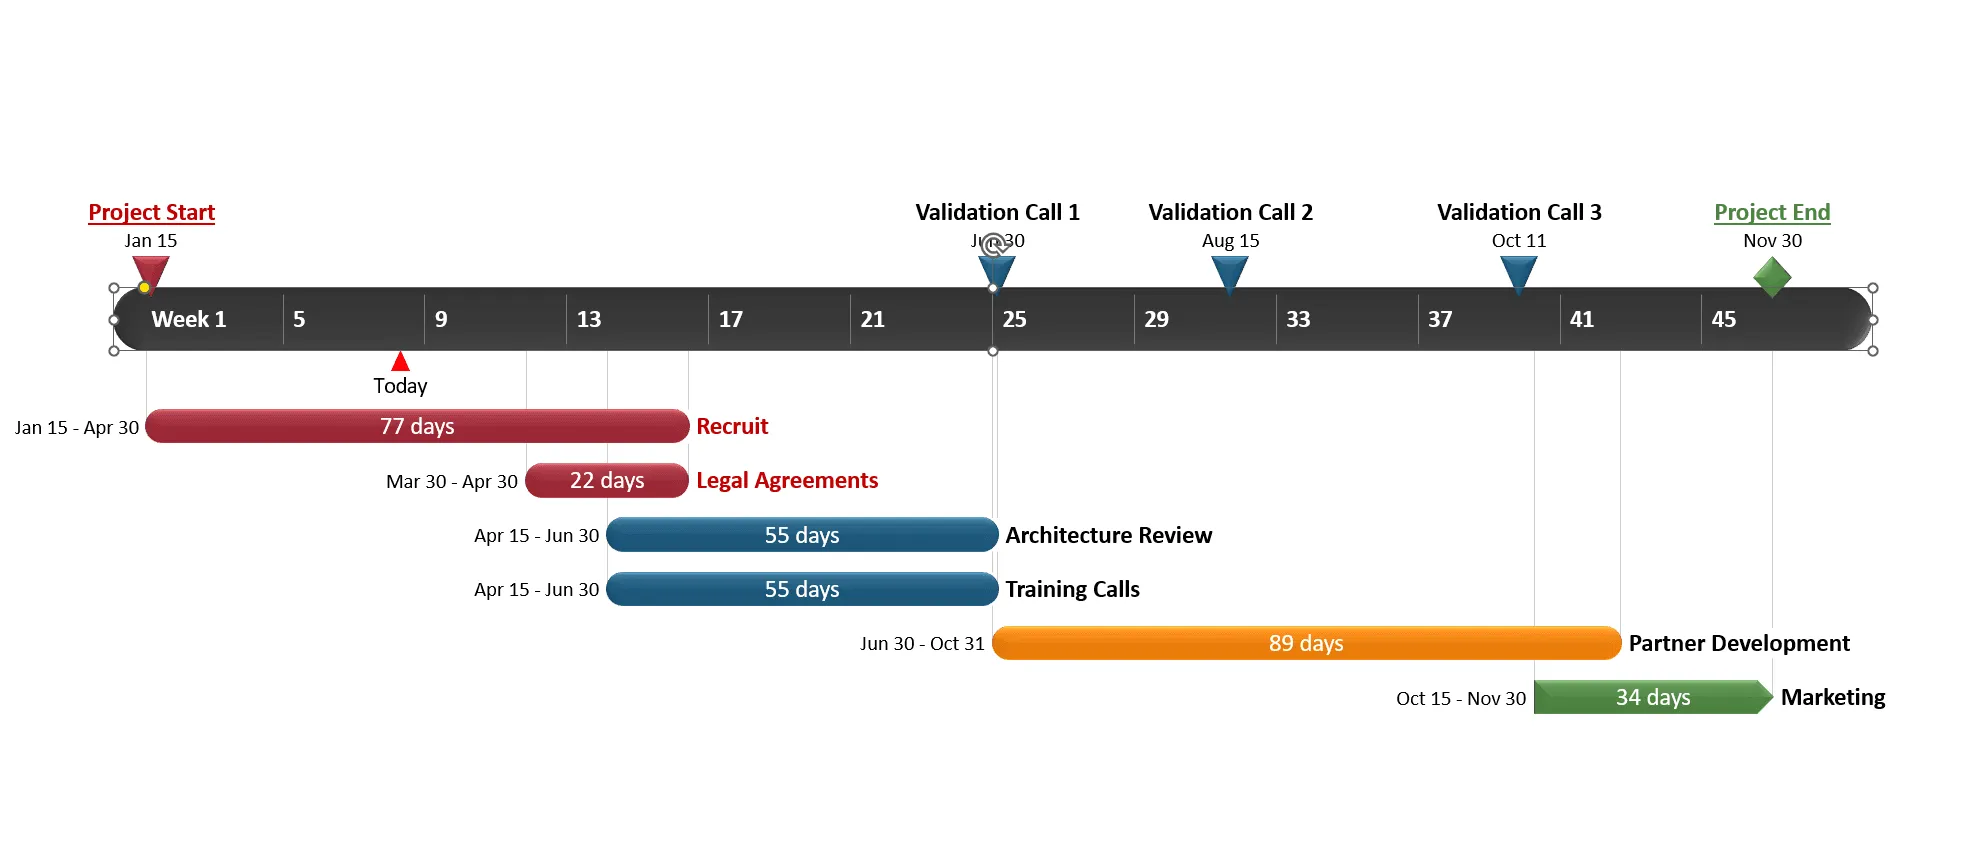
In the example below, we have switched the timescale from months to weeks.
4. While in the Scales tab, if you use the most advanced edition of Office Timeline, you’ll also have the option to display multiple time scales featuring different time units. In our example below, we have opted for Months, Weeks, Days:
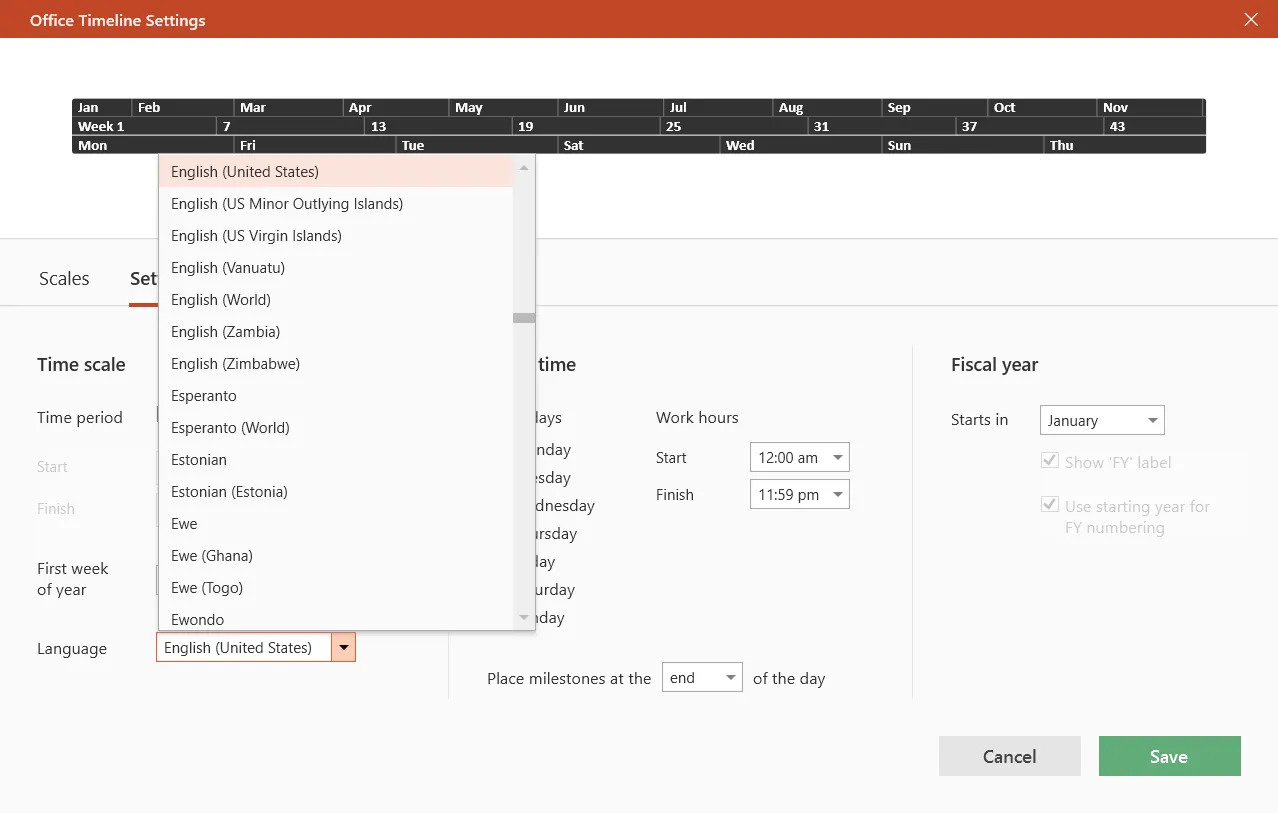
Tip: In the Settings tab, you will also find the Language control for the timeband. Use it to change the language of your timeband’s scale if you have an international audience.
Find more resources on timescales in the Office Timeline Add-in Support Center:
Are you running the latest version? Check our updates page and download the latest build to make sure it runs smoothly.
Project management tips and tricks
Turn project data into professional timelines
Get the advanced features of Office Timeline free for 14 days.